This post is going to be a little different - a different type of technical - not so much electronic, more on the woodworking front. Here, I am going to talk about how I built my own server rack for under a $100.
I will preface that the $100 is the cost of the actual materials - not the tools required to build said server rack.
Here is everything I used for this project:
- 7x 8ft 2x4 Wood Planks
- 2x 8ft 1x4 Wood Planks
- Circular Saw
- Drill/Impact Driver
- Pocket Hole Jig
- Wood Screws
- Sander
- Wood Stain
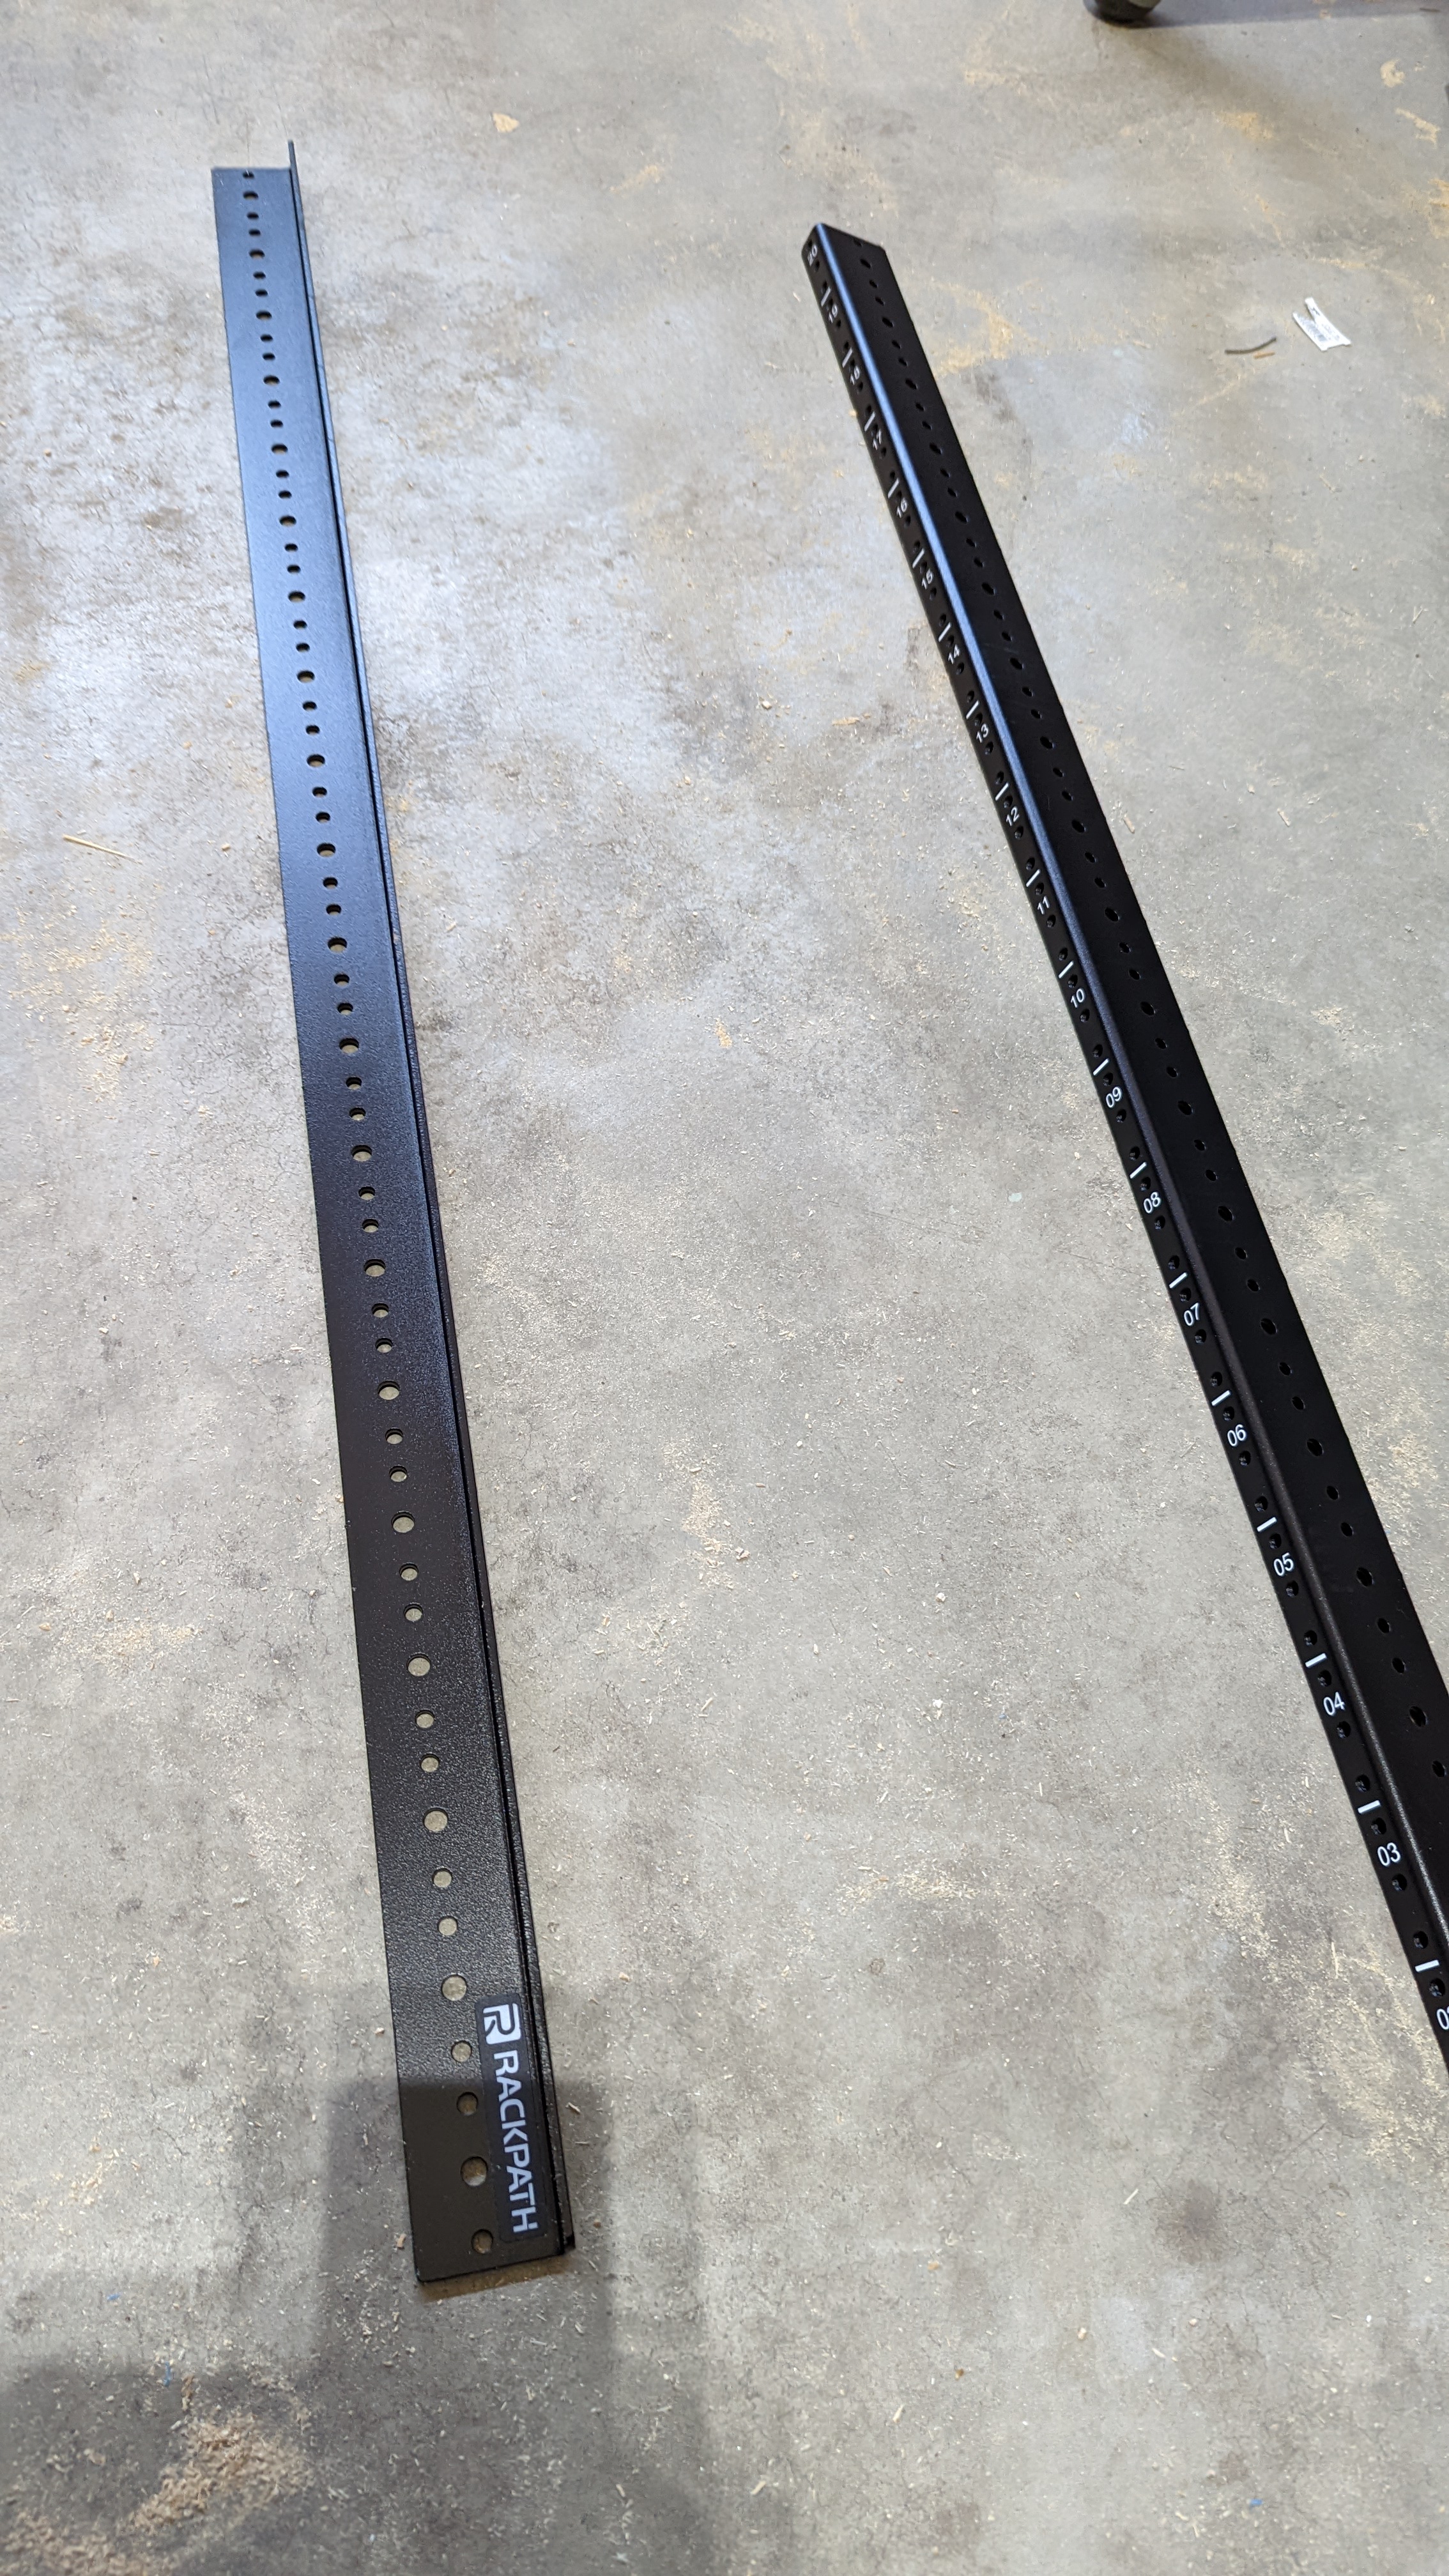
- Server Rack Rails
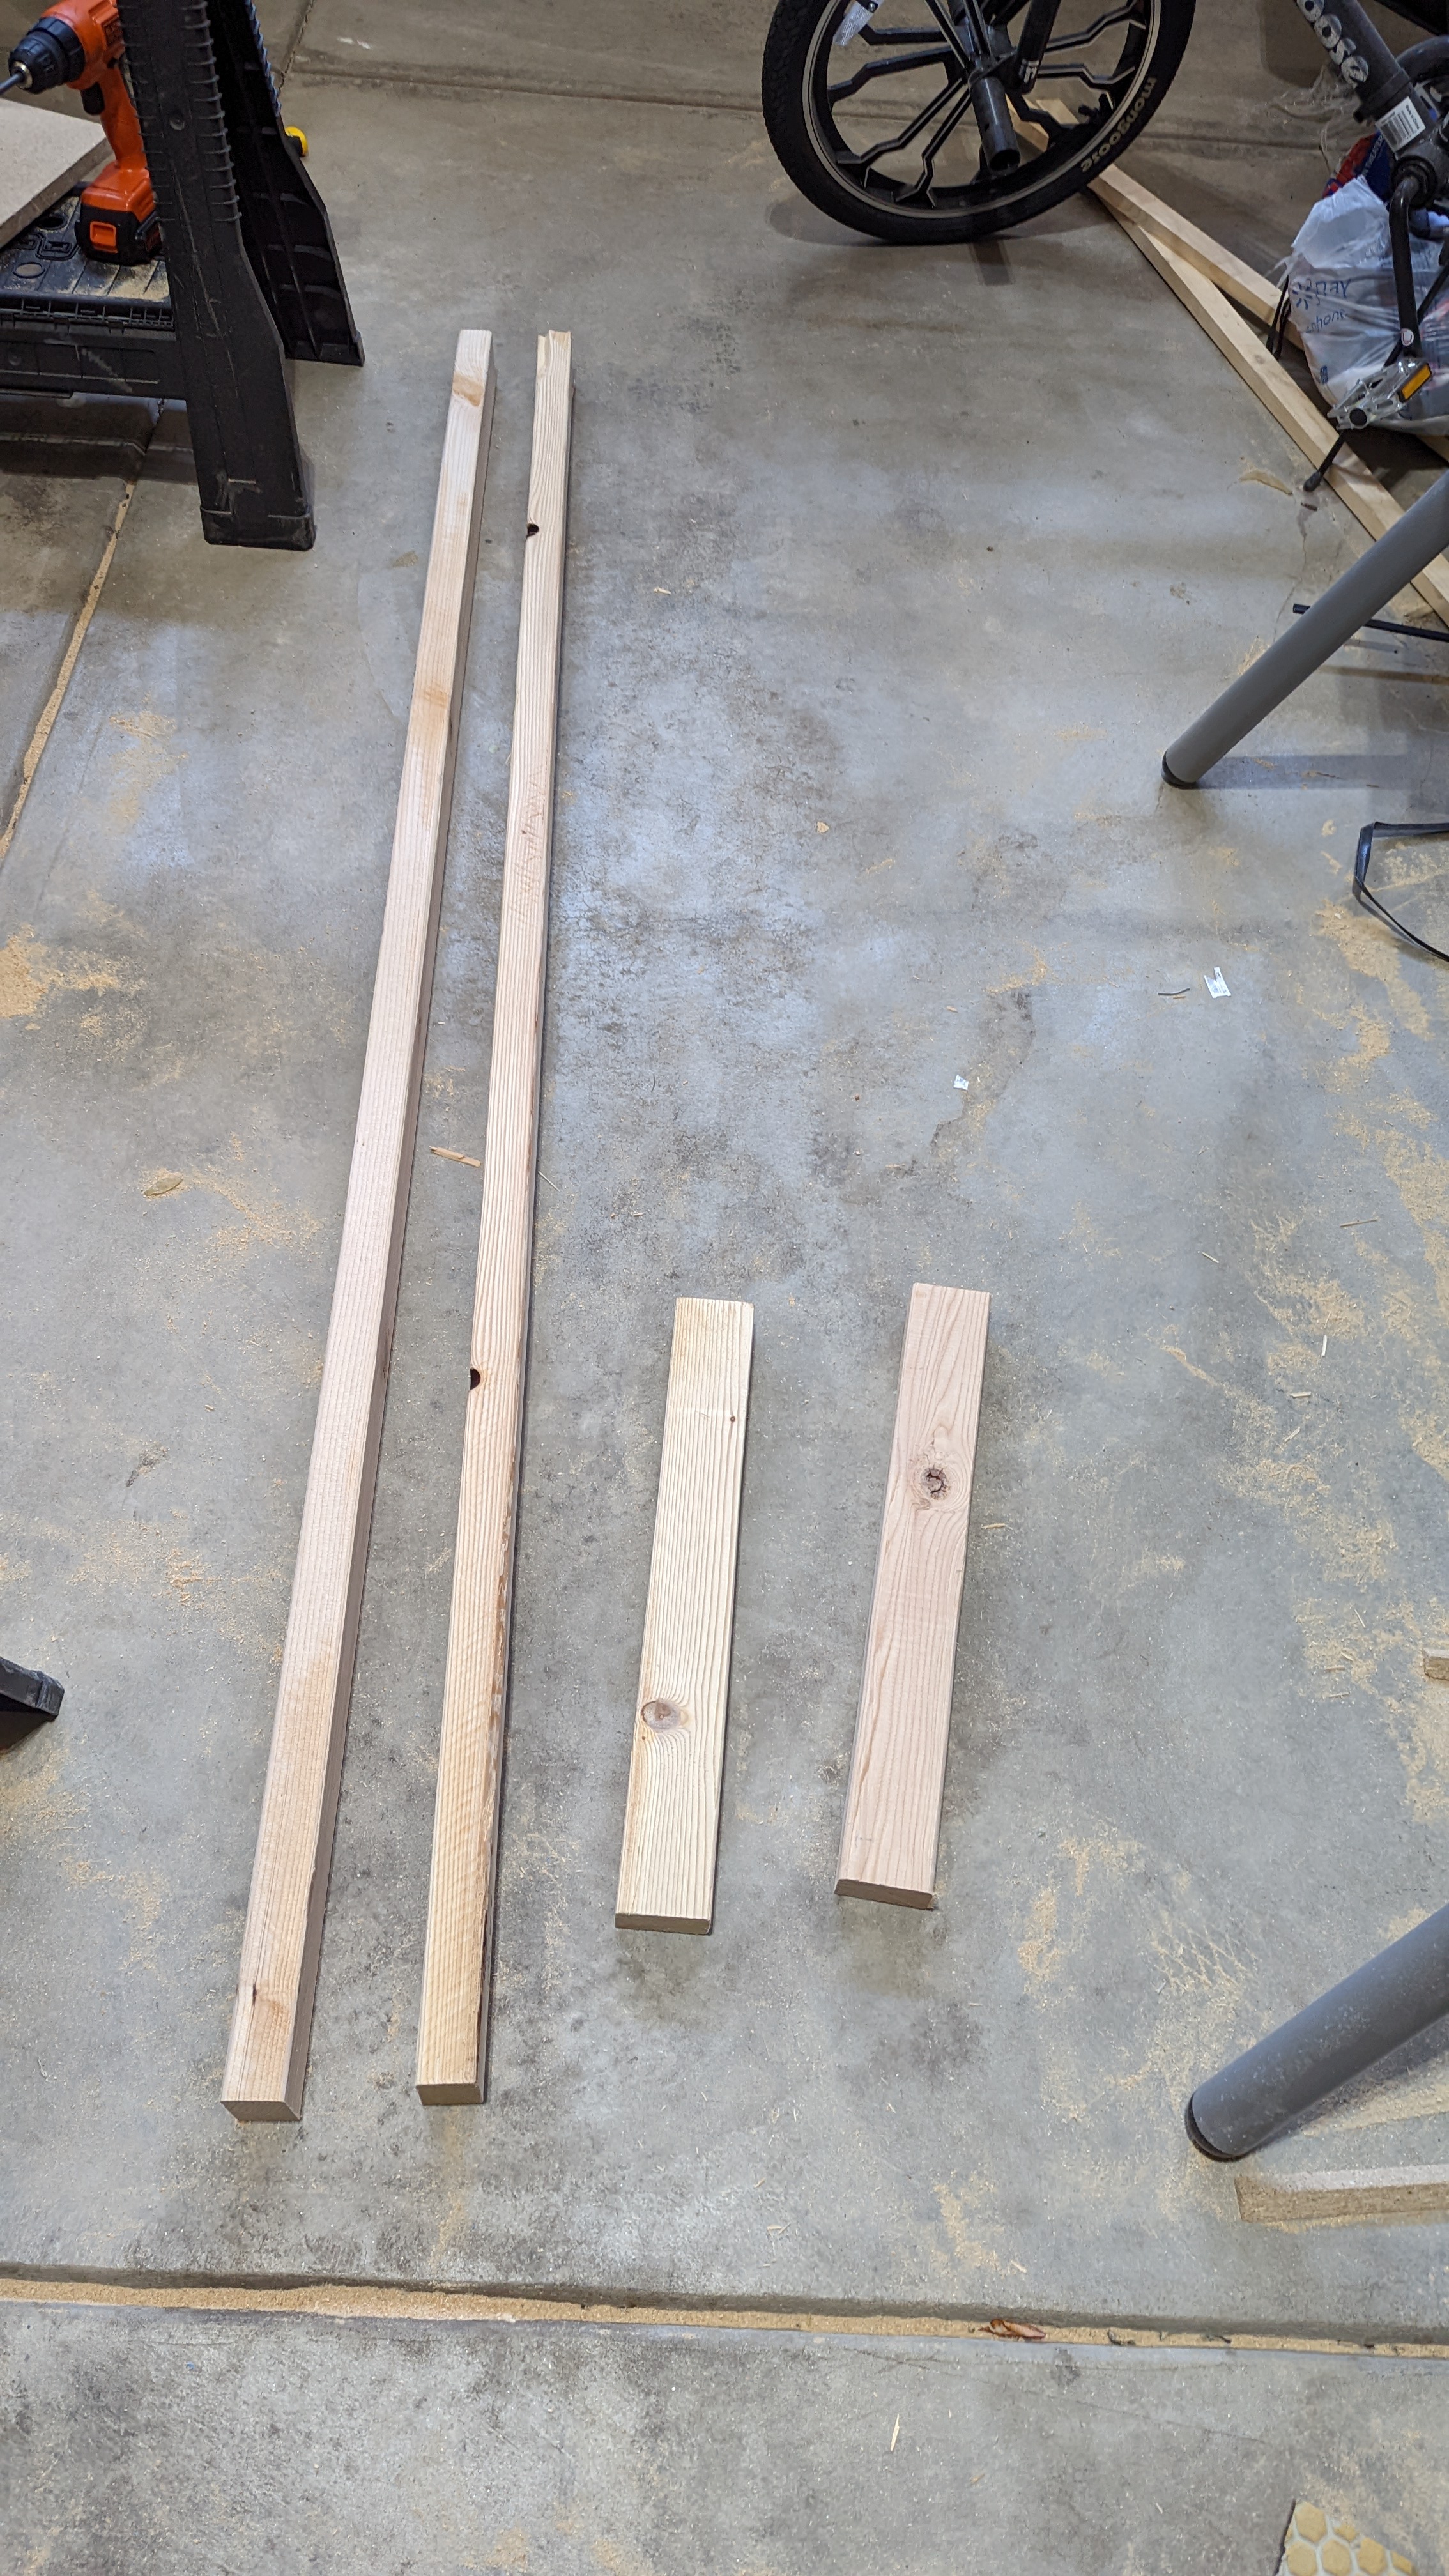
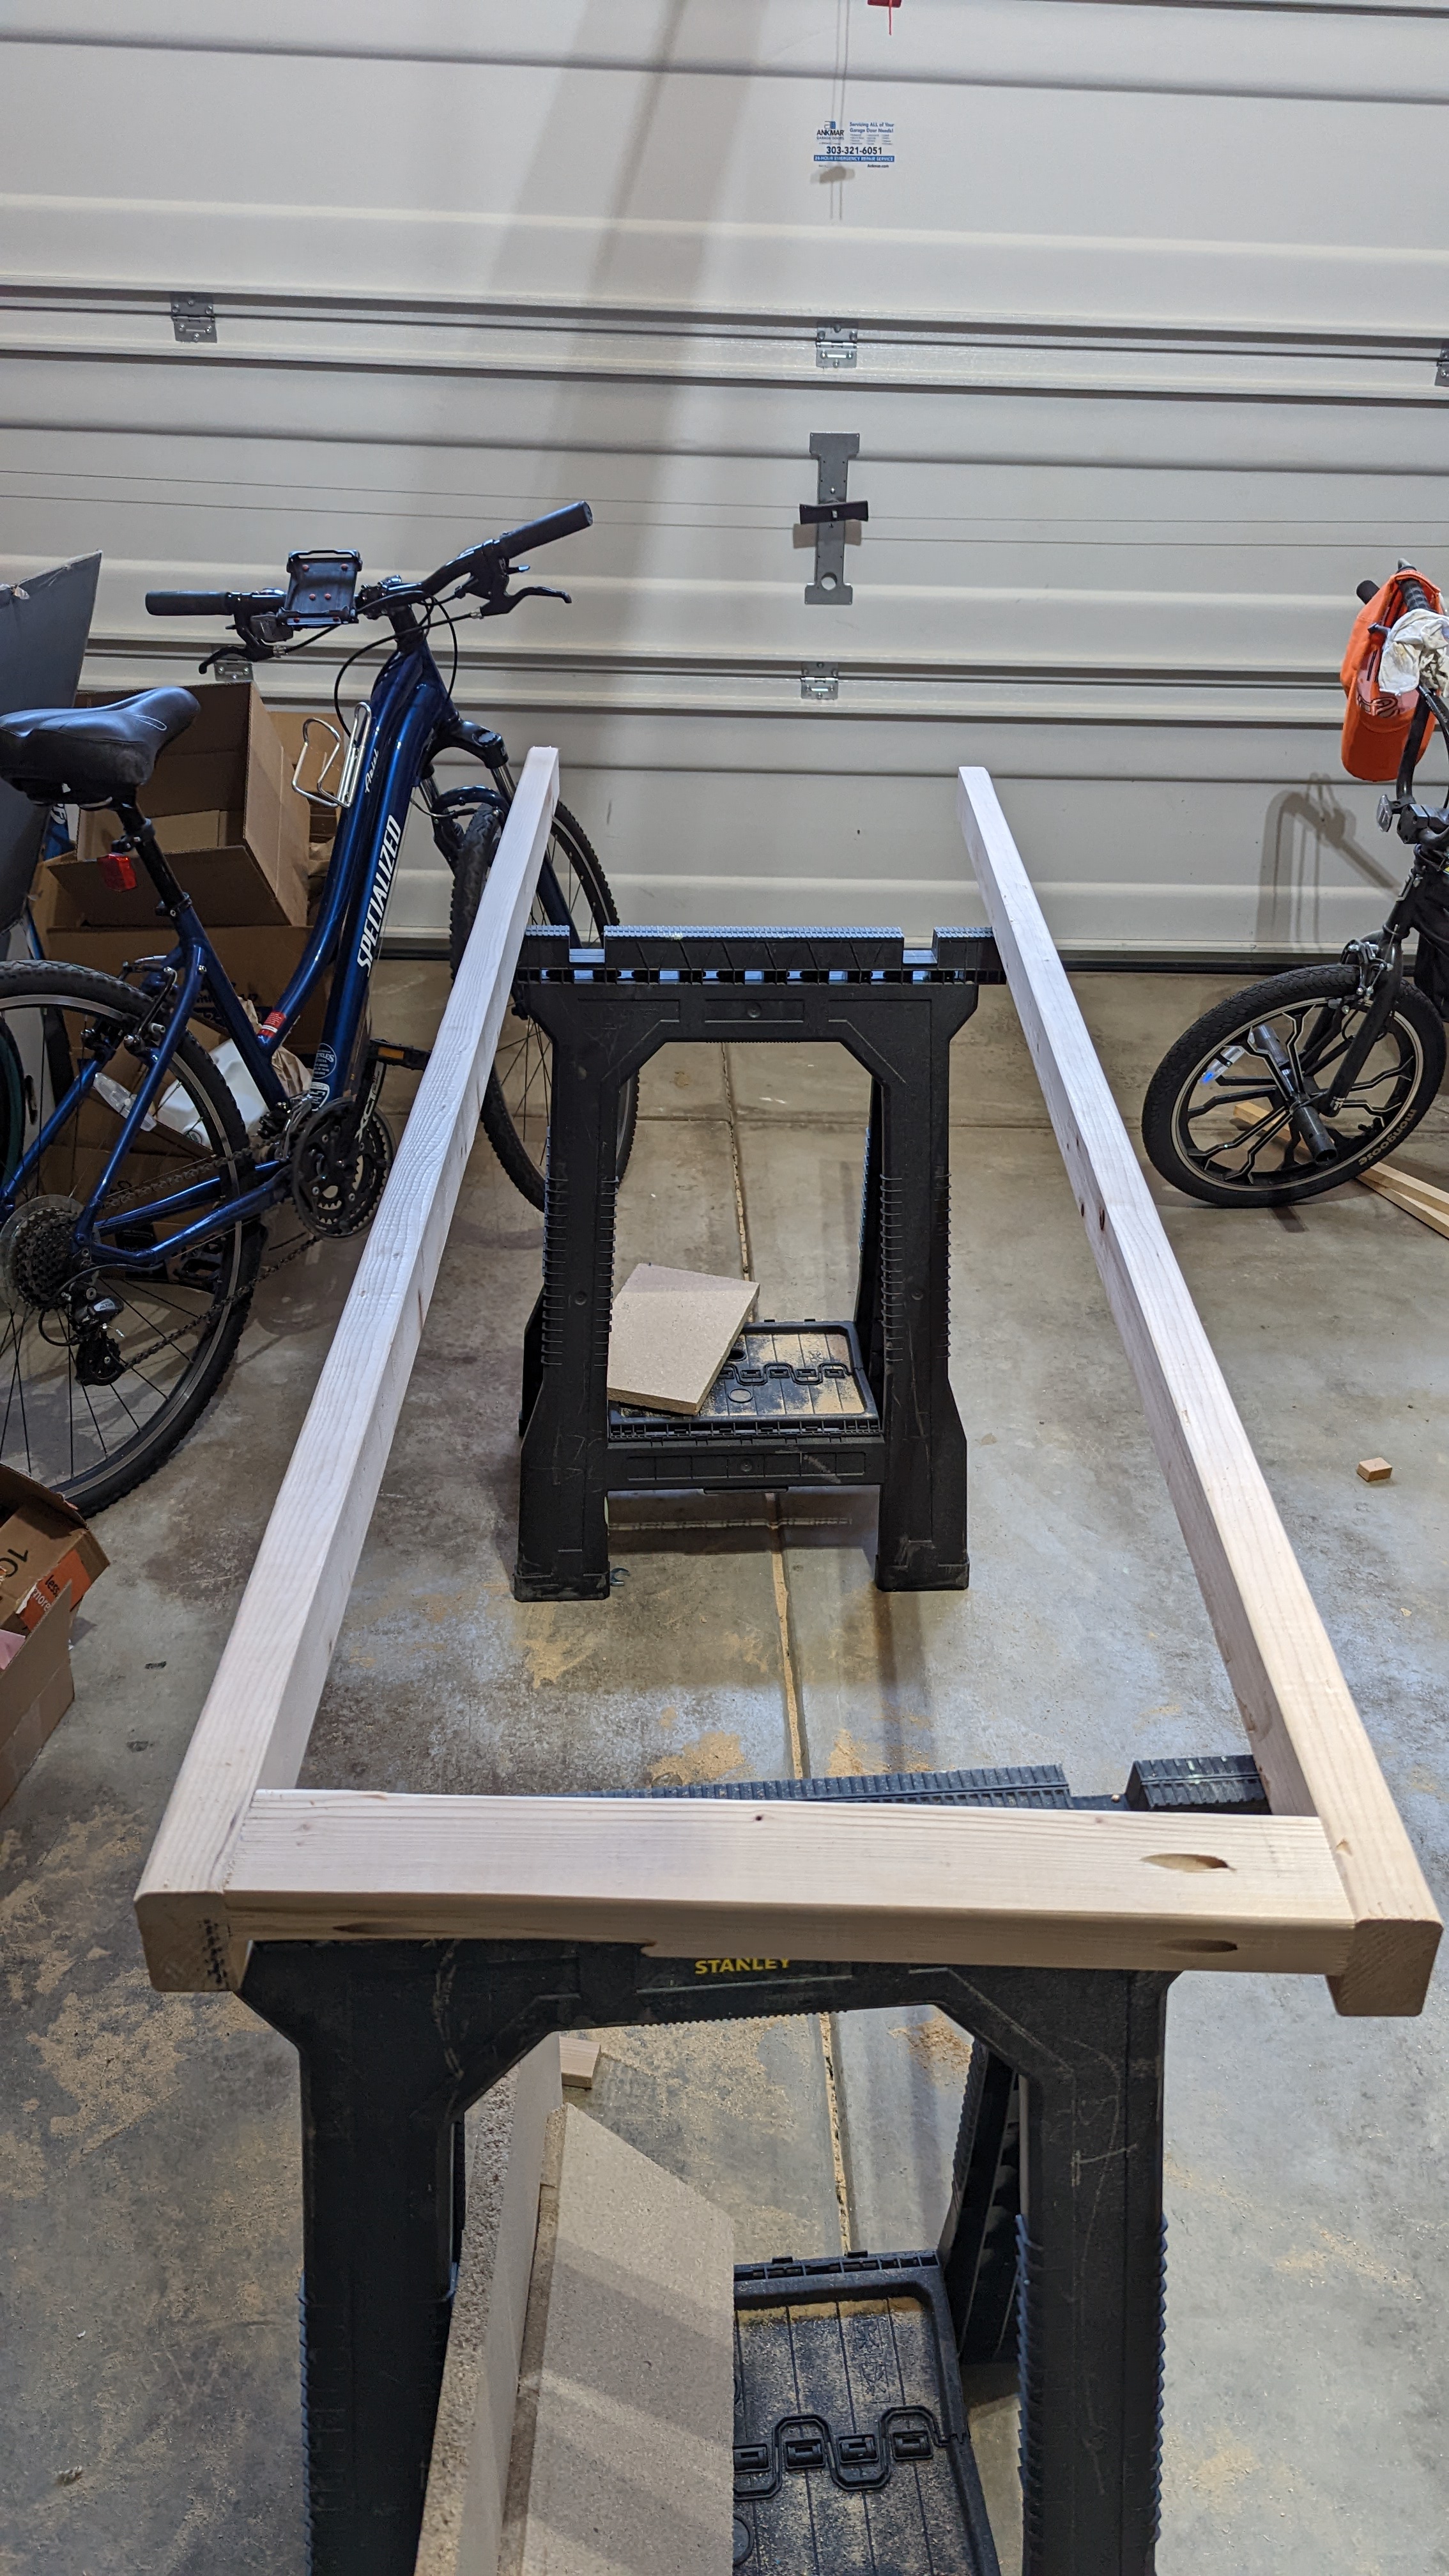
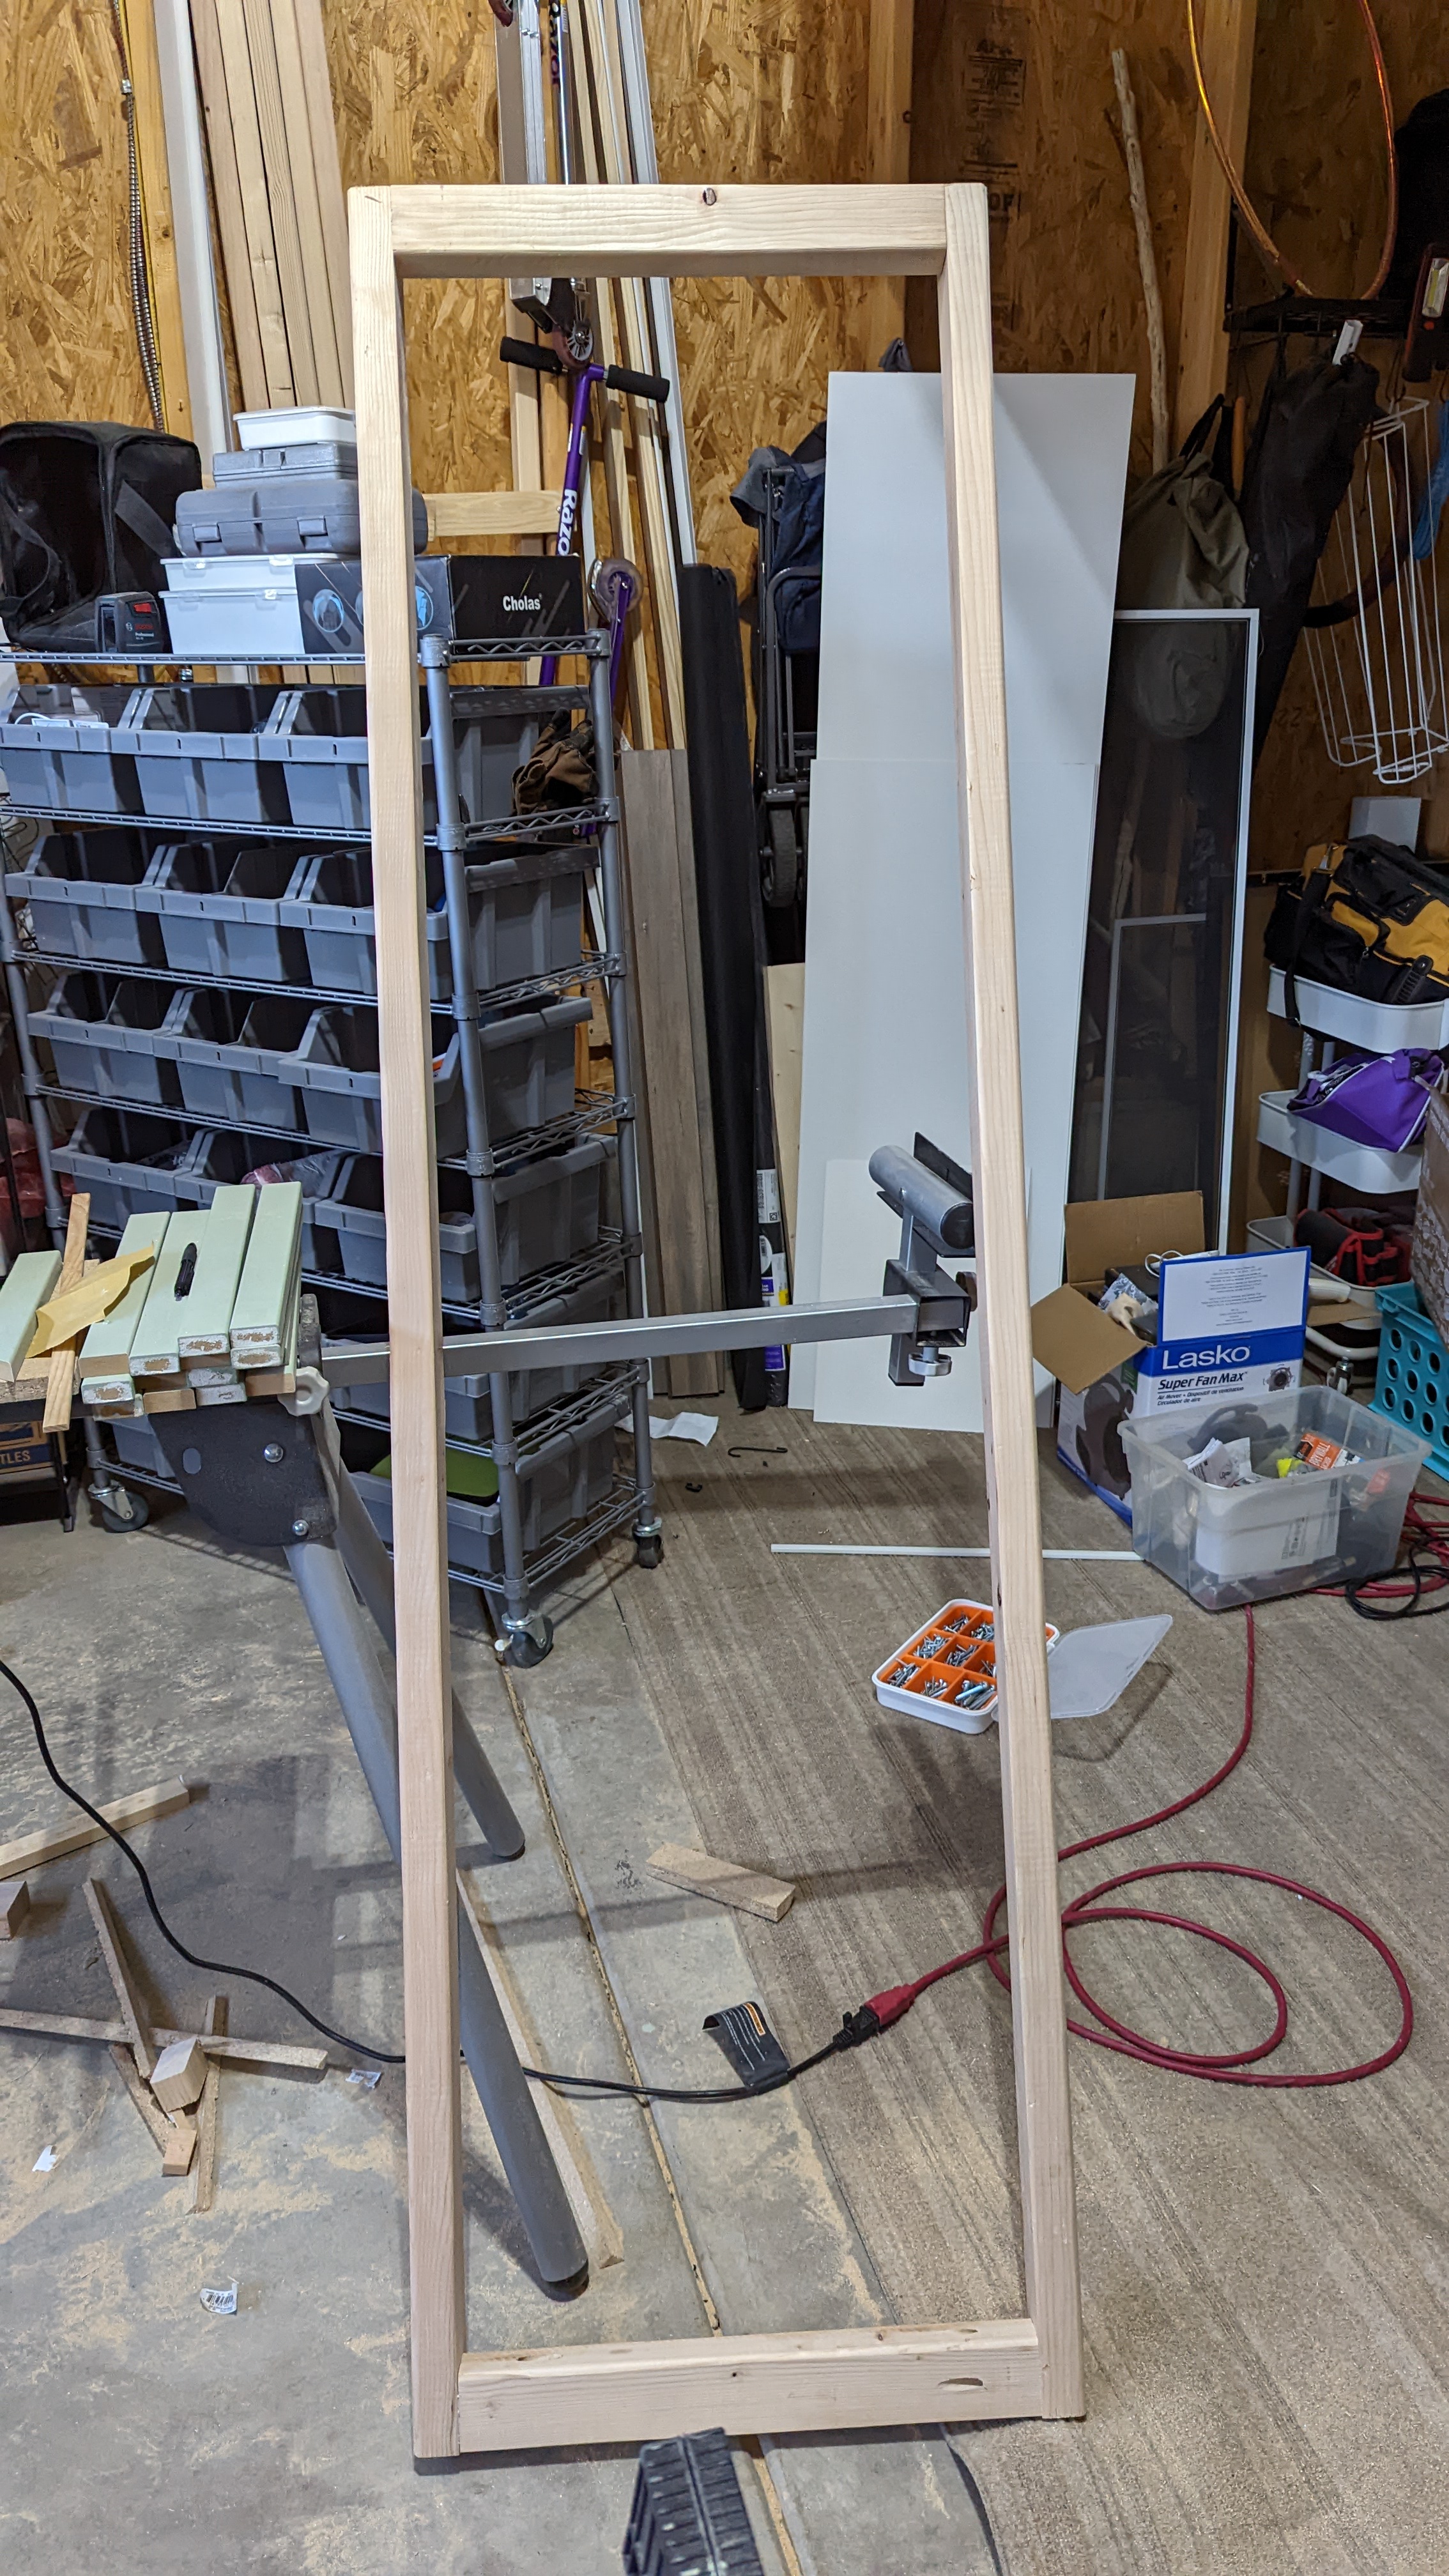
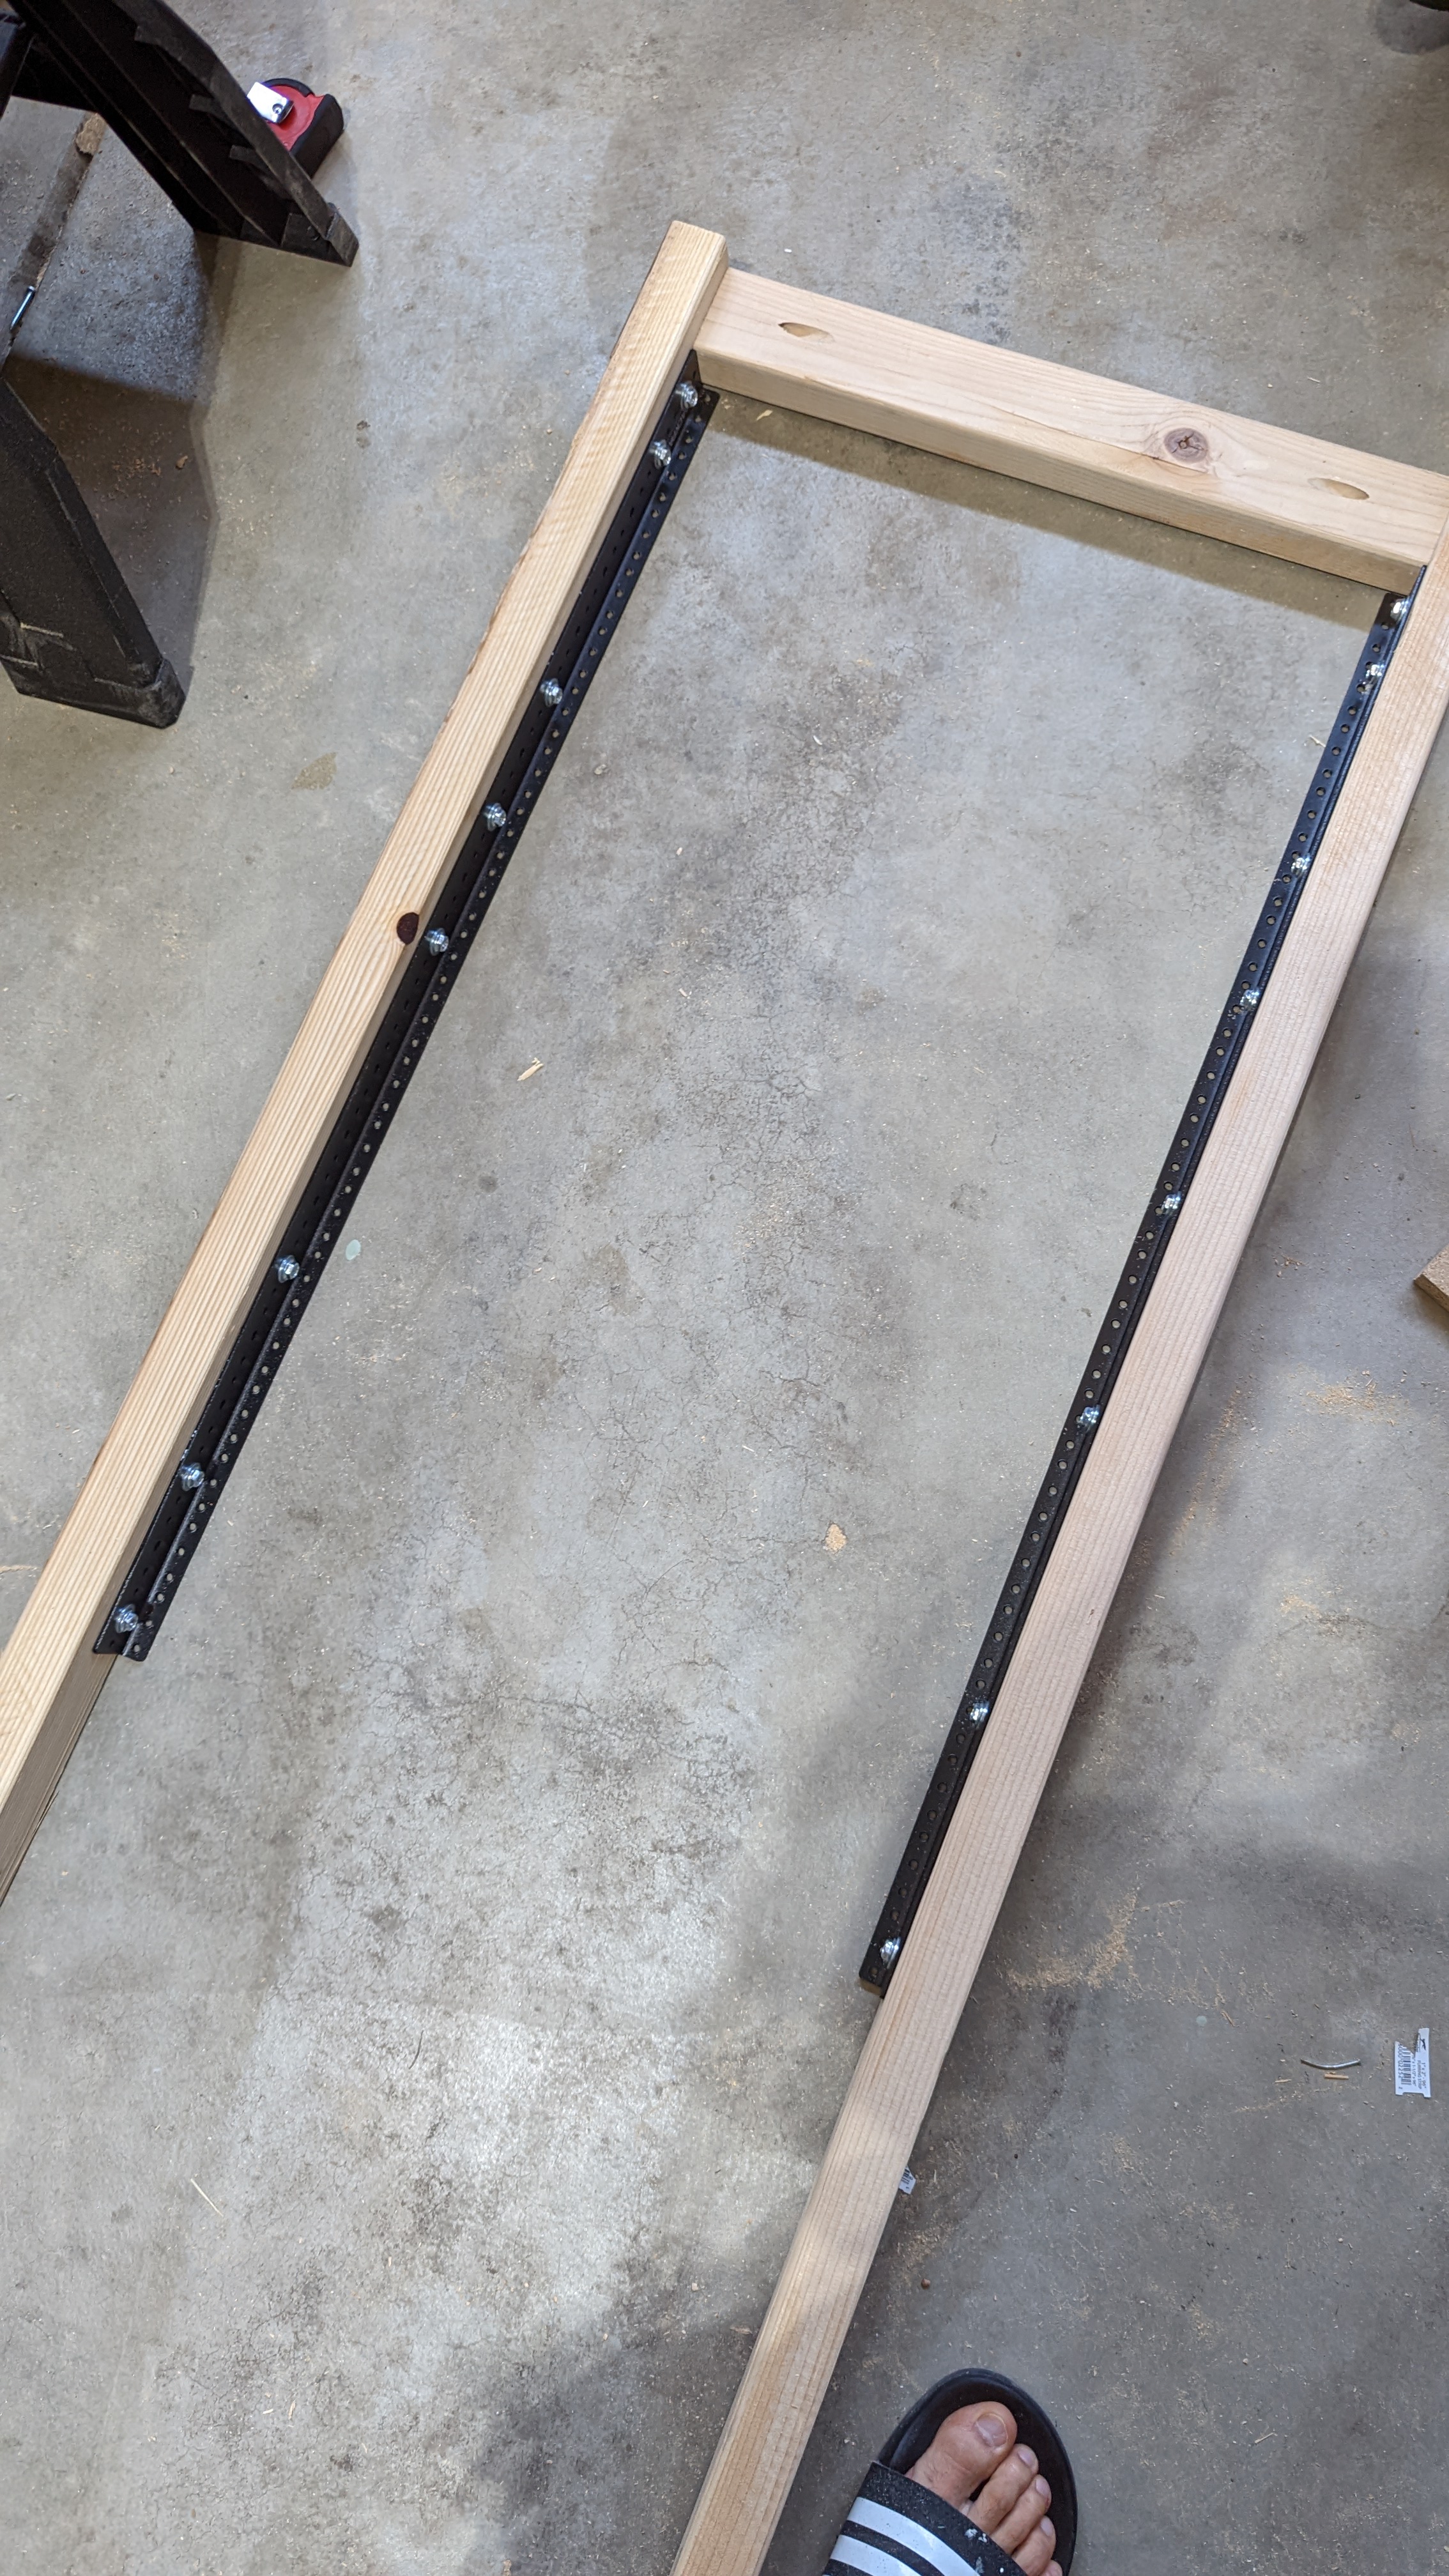
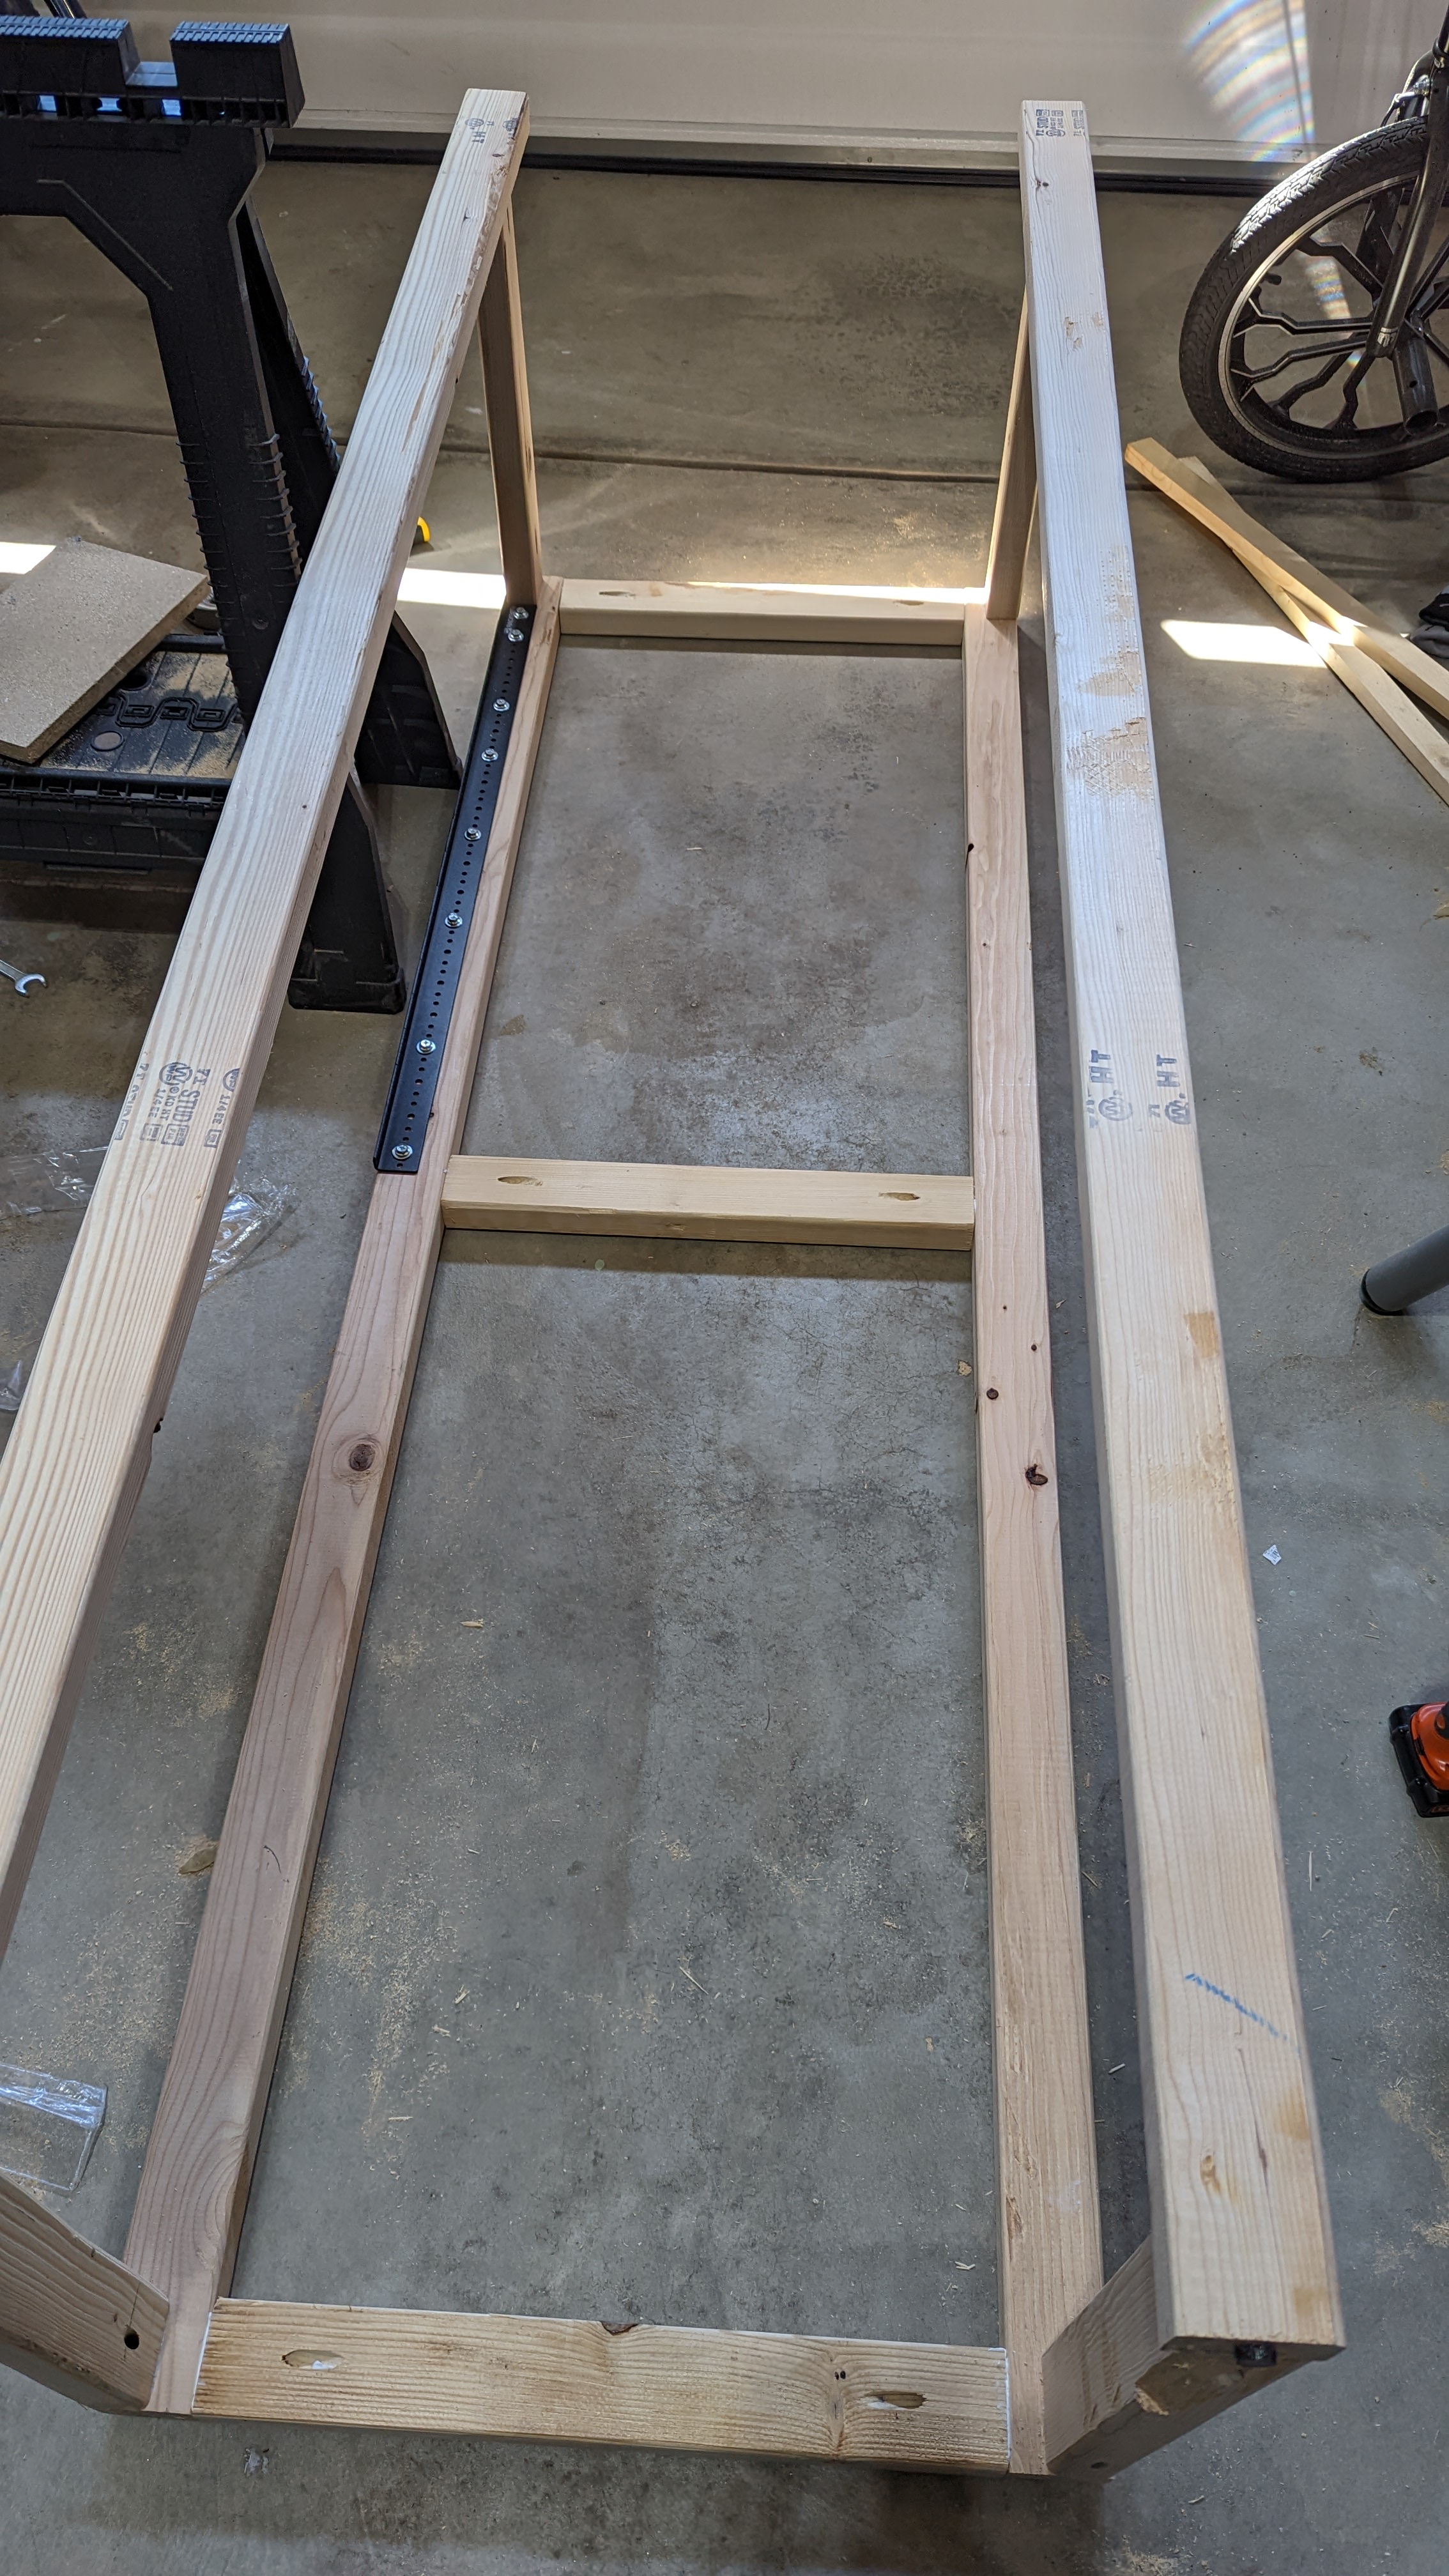
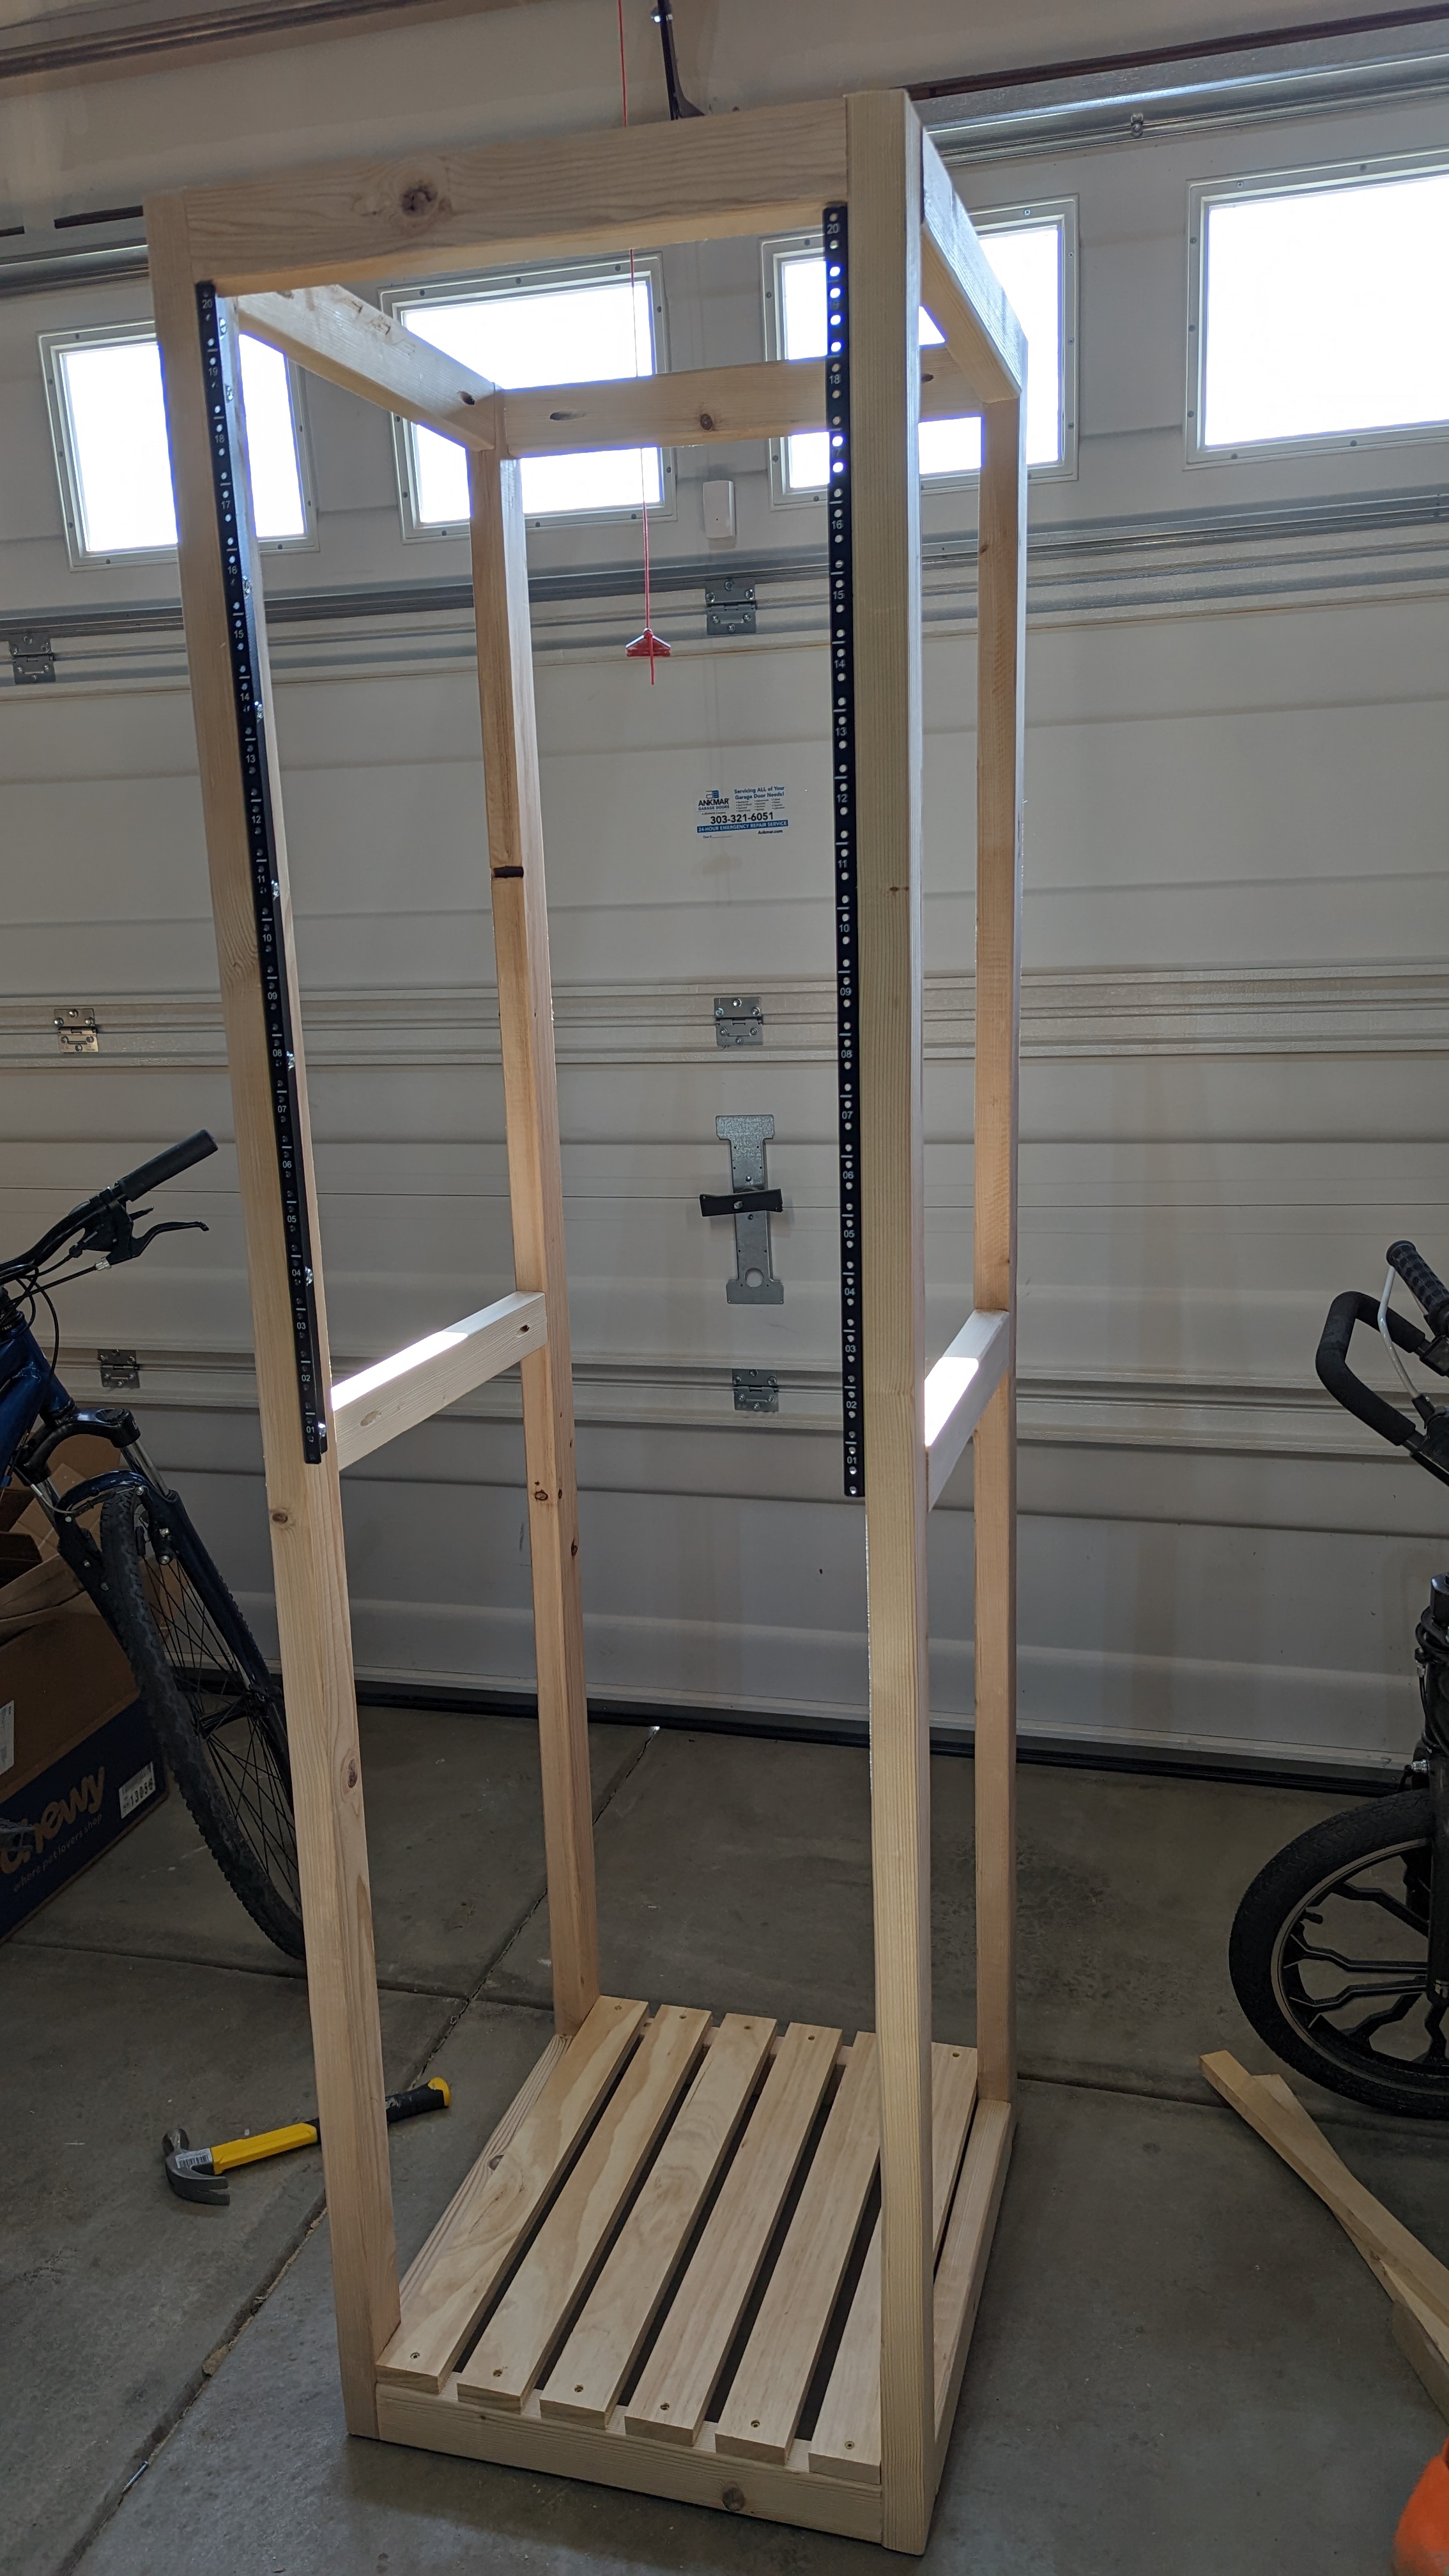
To start off, I first cut the 2x4 pieces pieces to the required length (for me - I wanted a ~40U rack) and made the "frame" for the front and back of the rack. I used pocket holes for the joints. The width of the frame has to be exactly 19" - as most server equipment is sized for 19" racks.
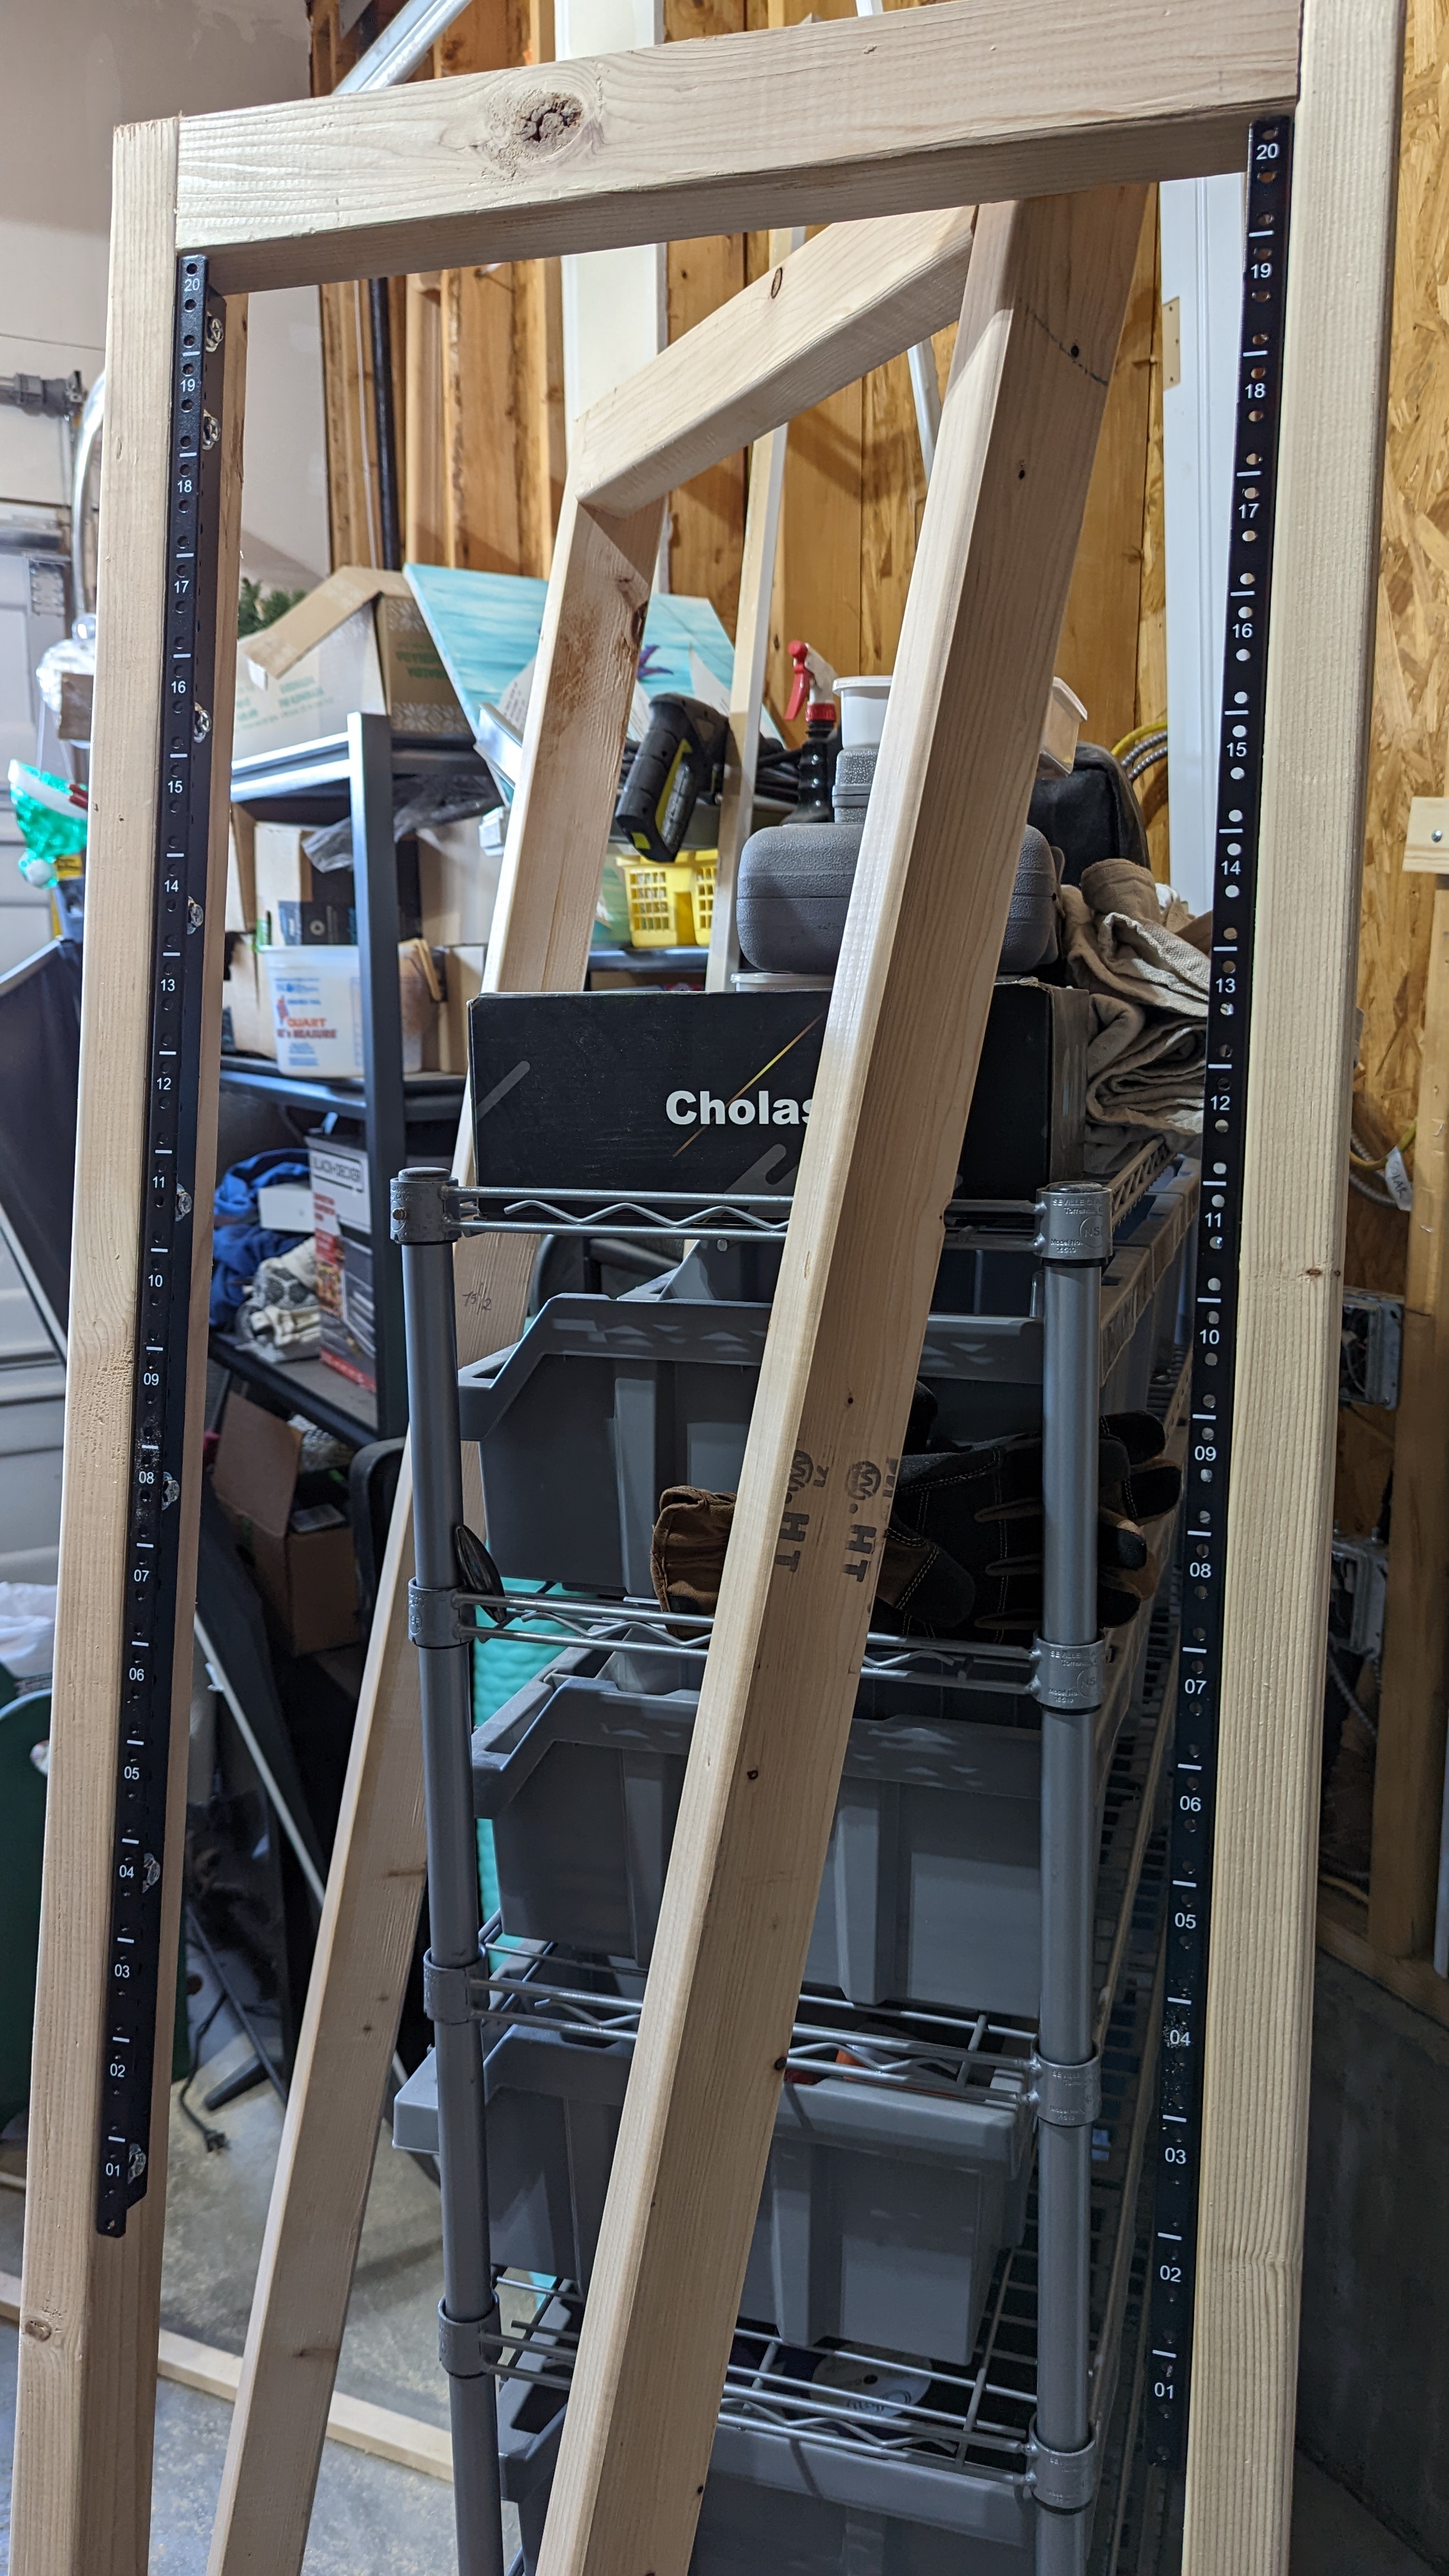
Once I had the frames ready, I then screwed in the rails to the front of the frame. At the time of this construction, I only rails for the front top half of the rack. I decided to buy more on a "as-needed" basis.
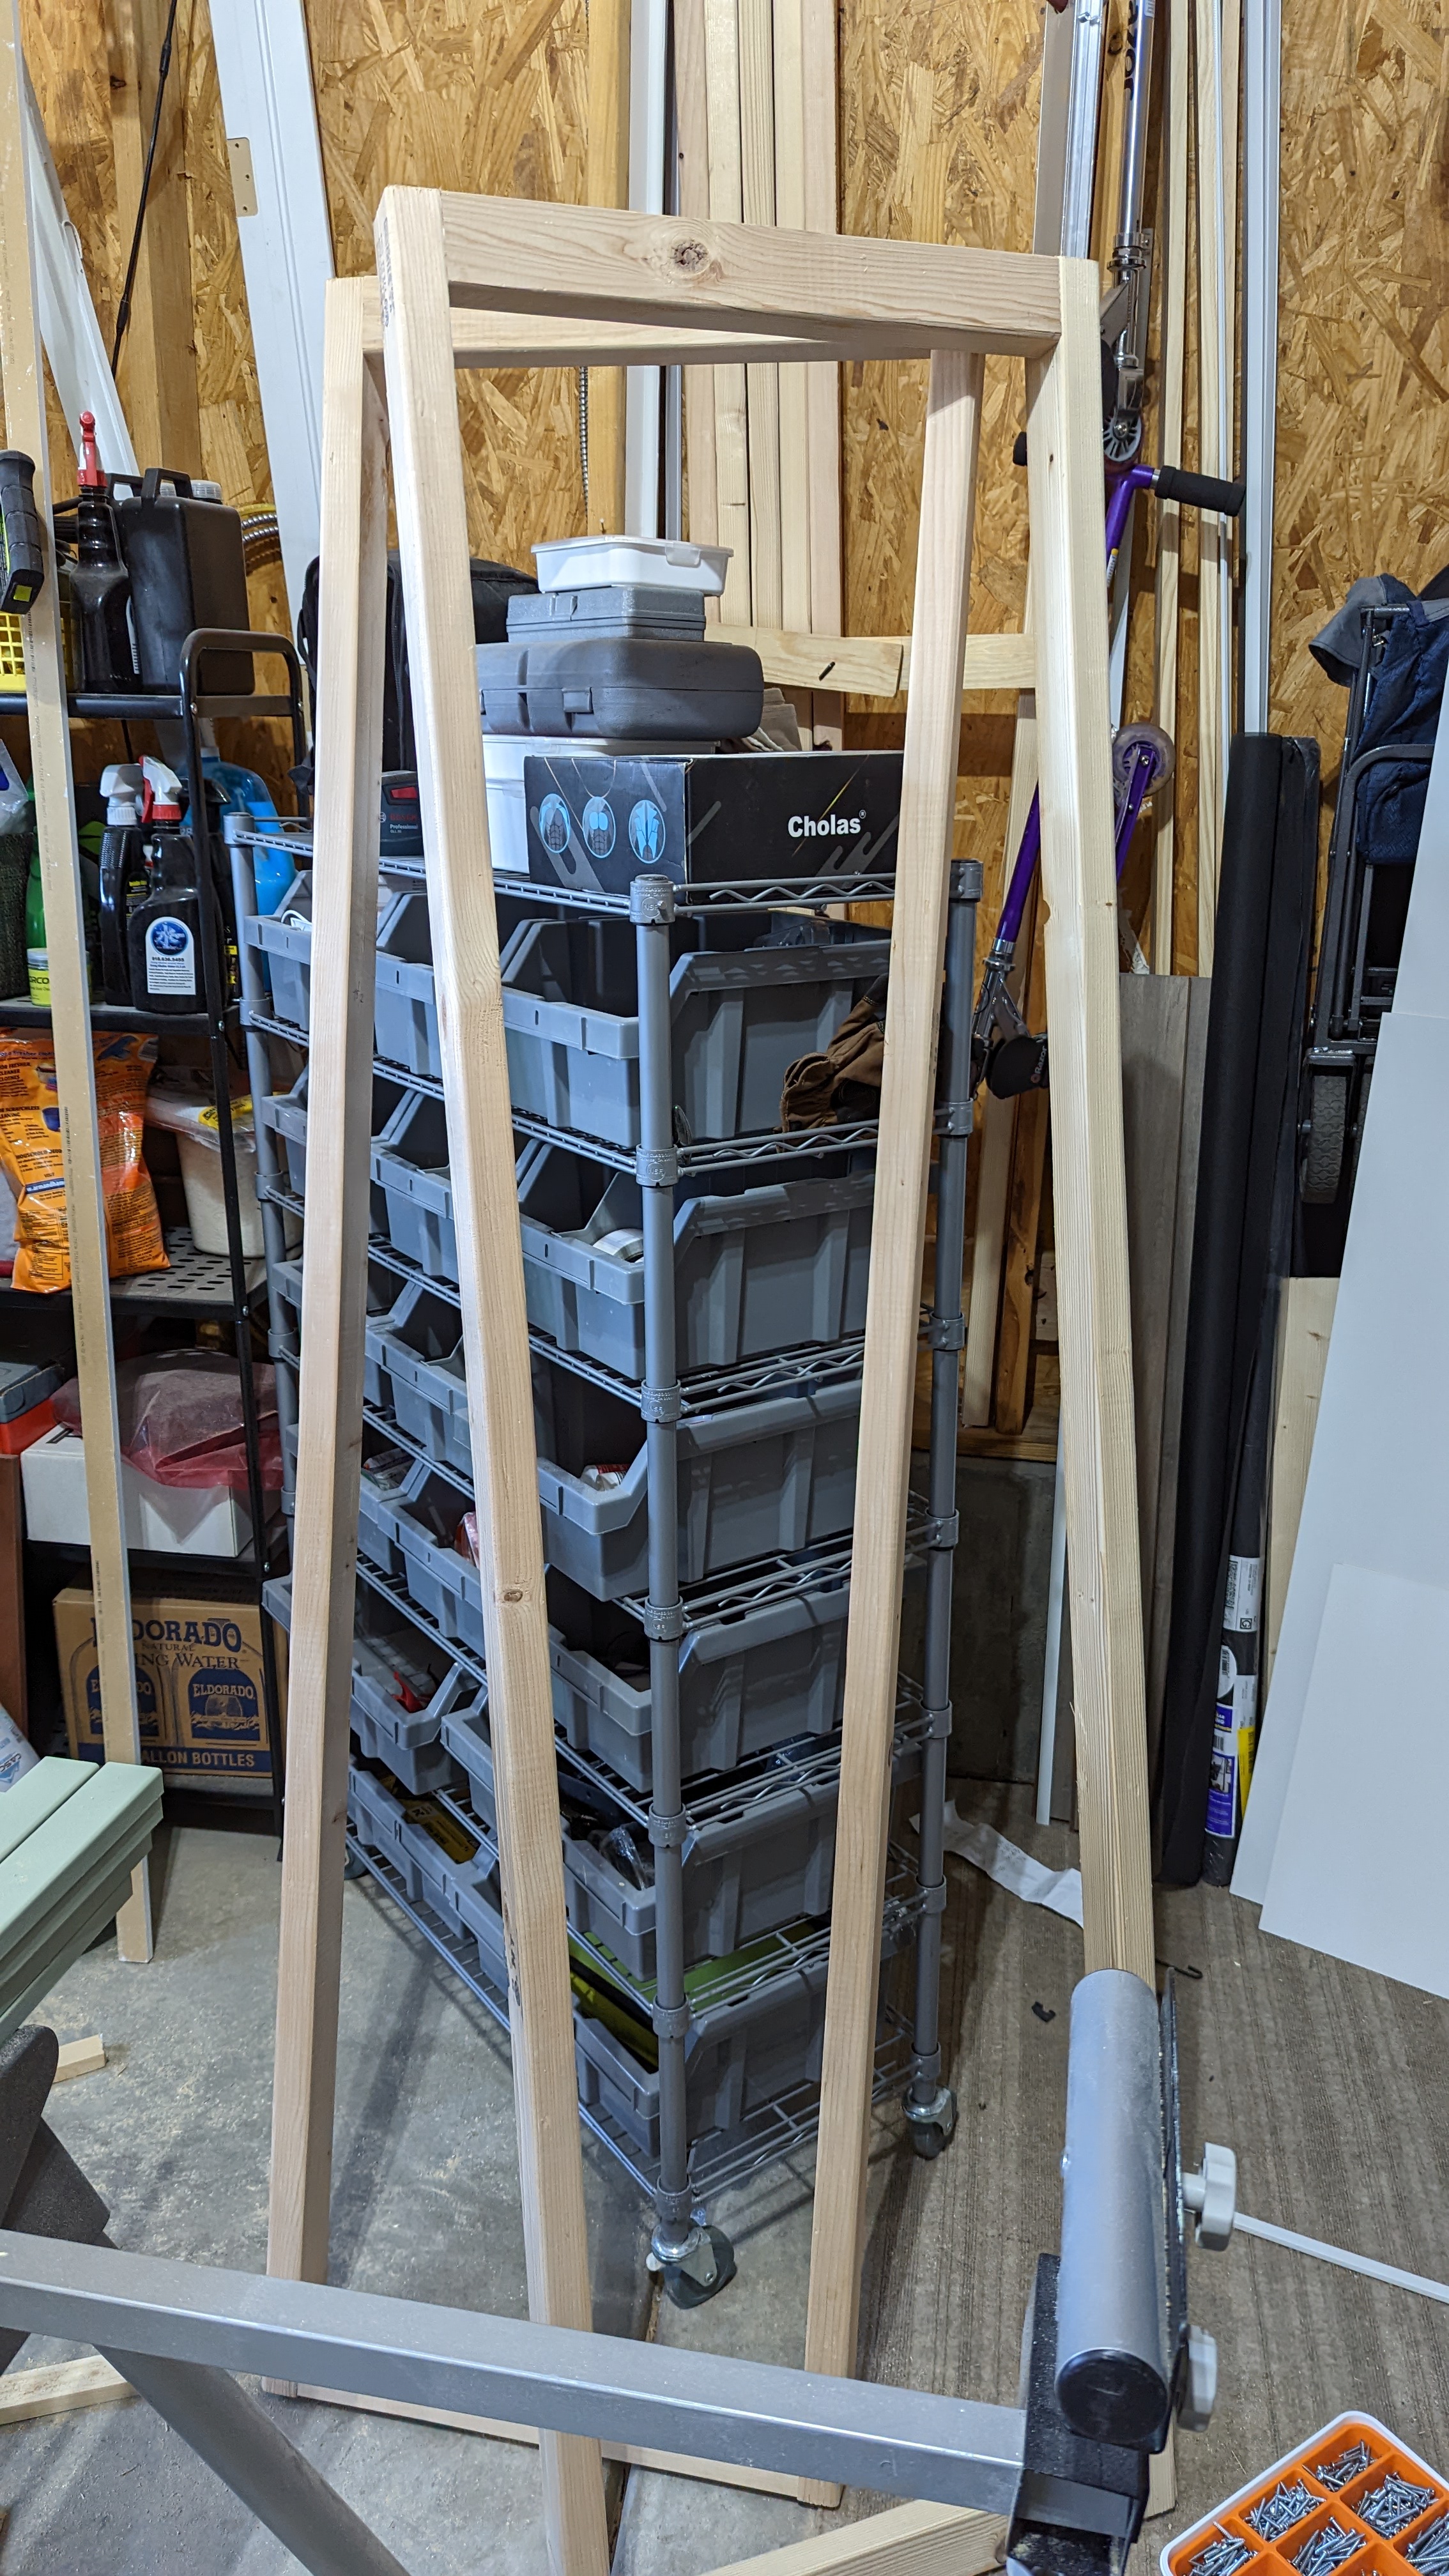
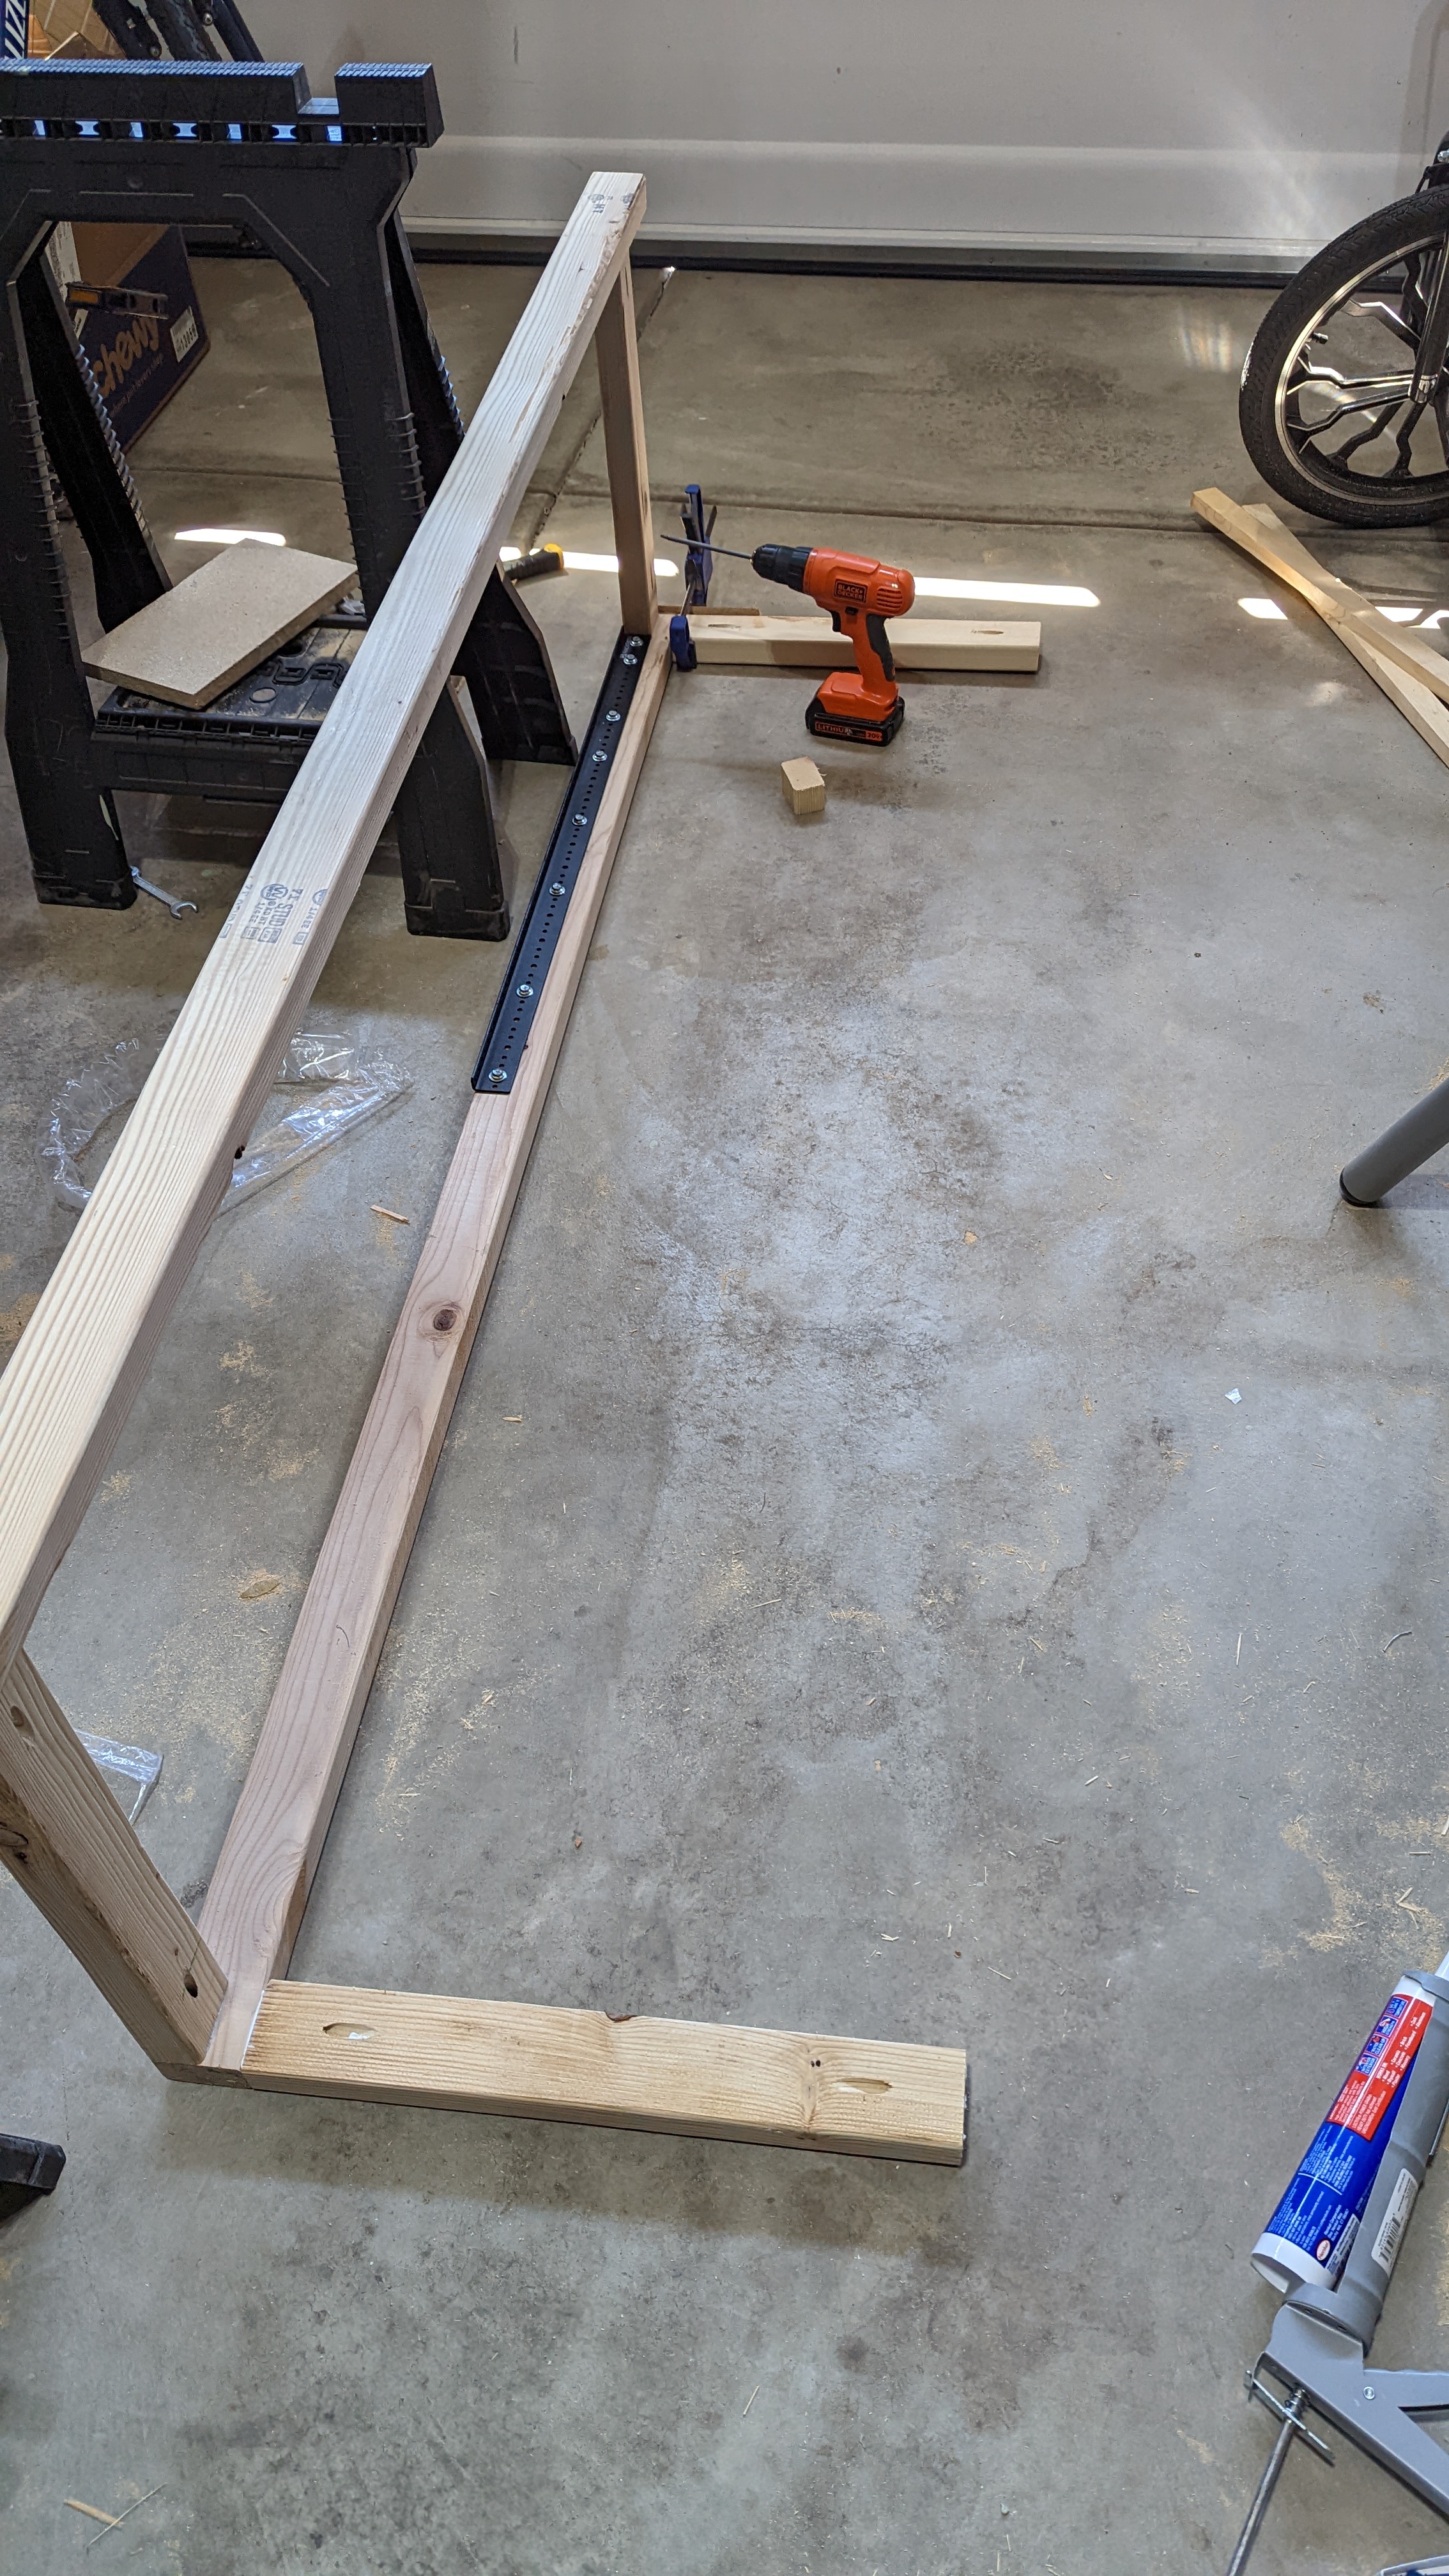
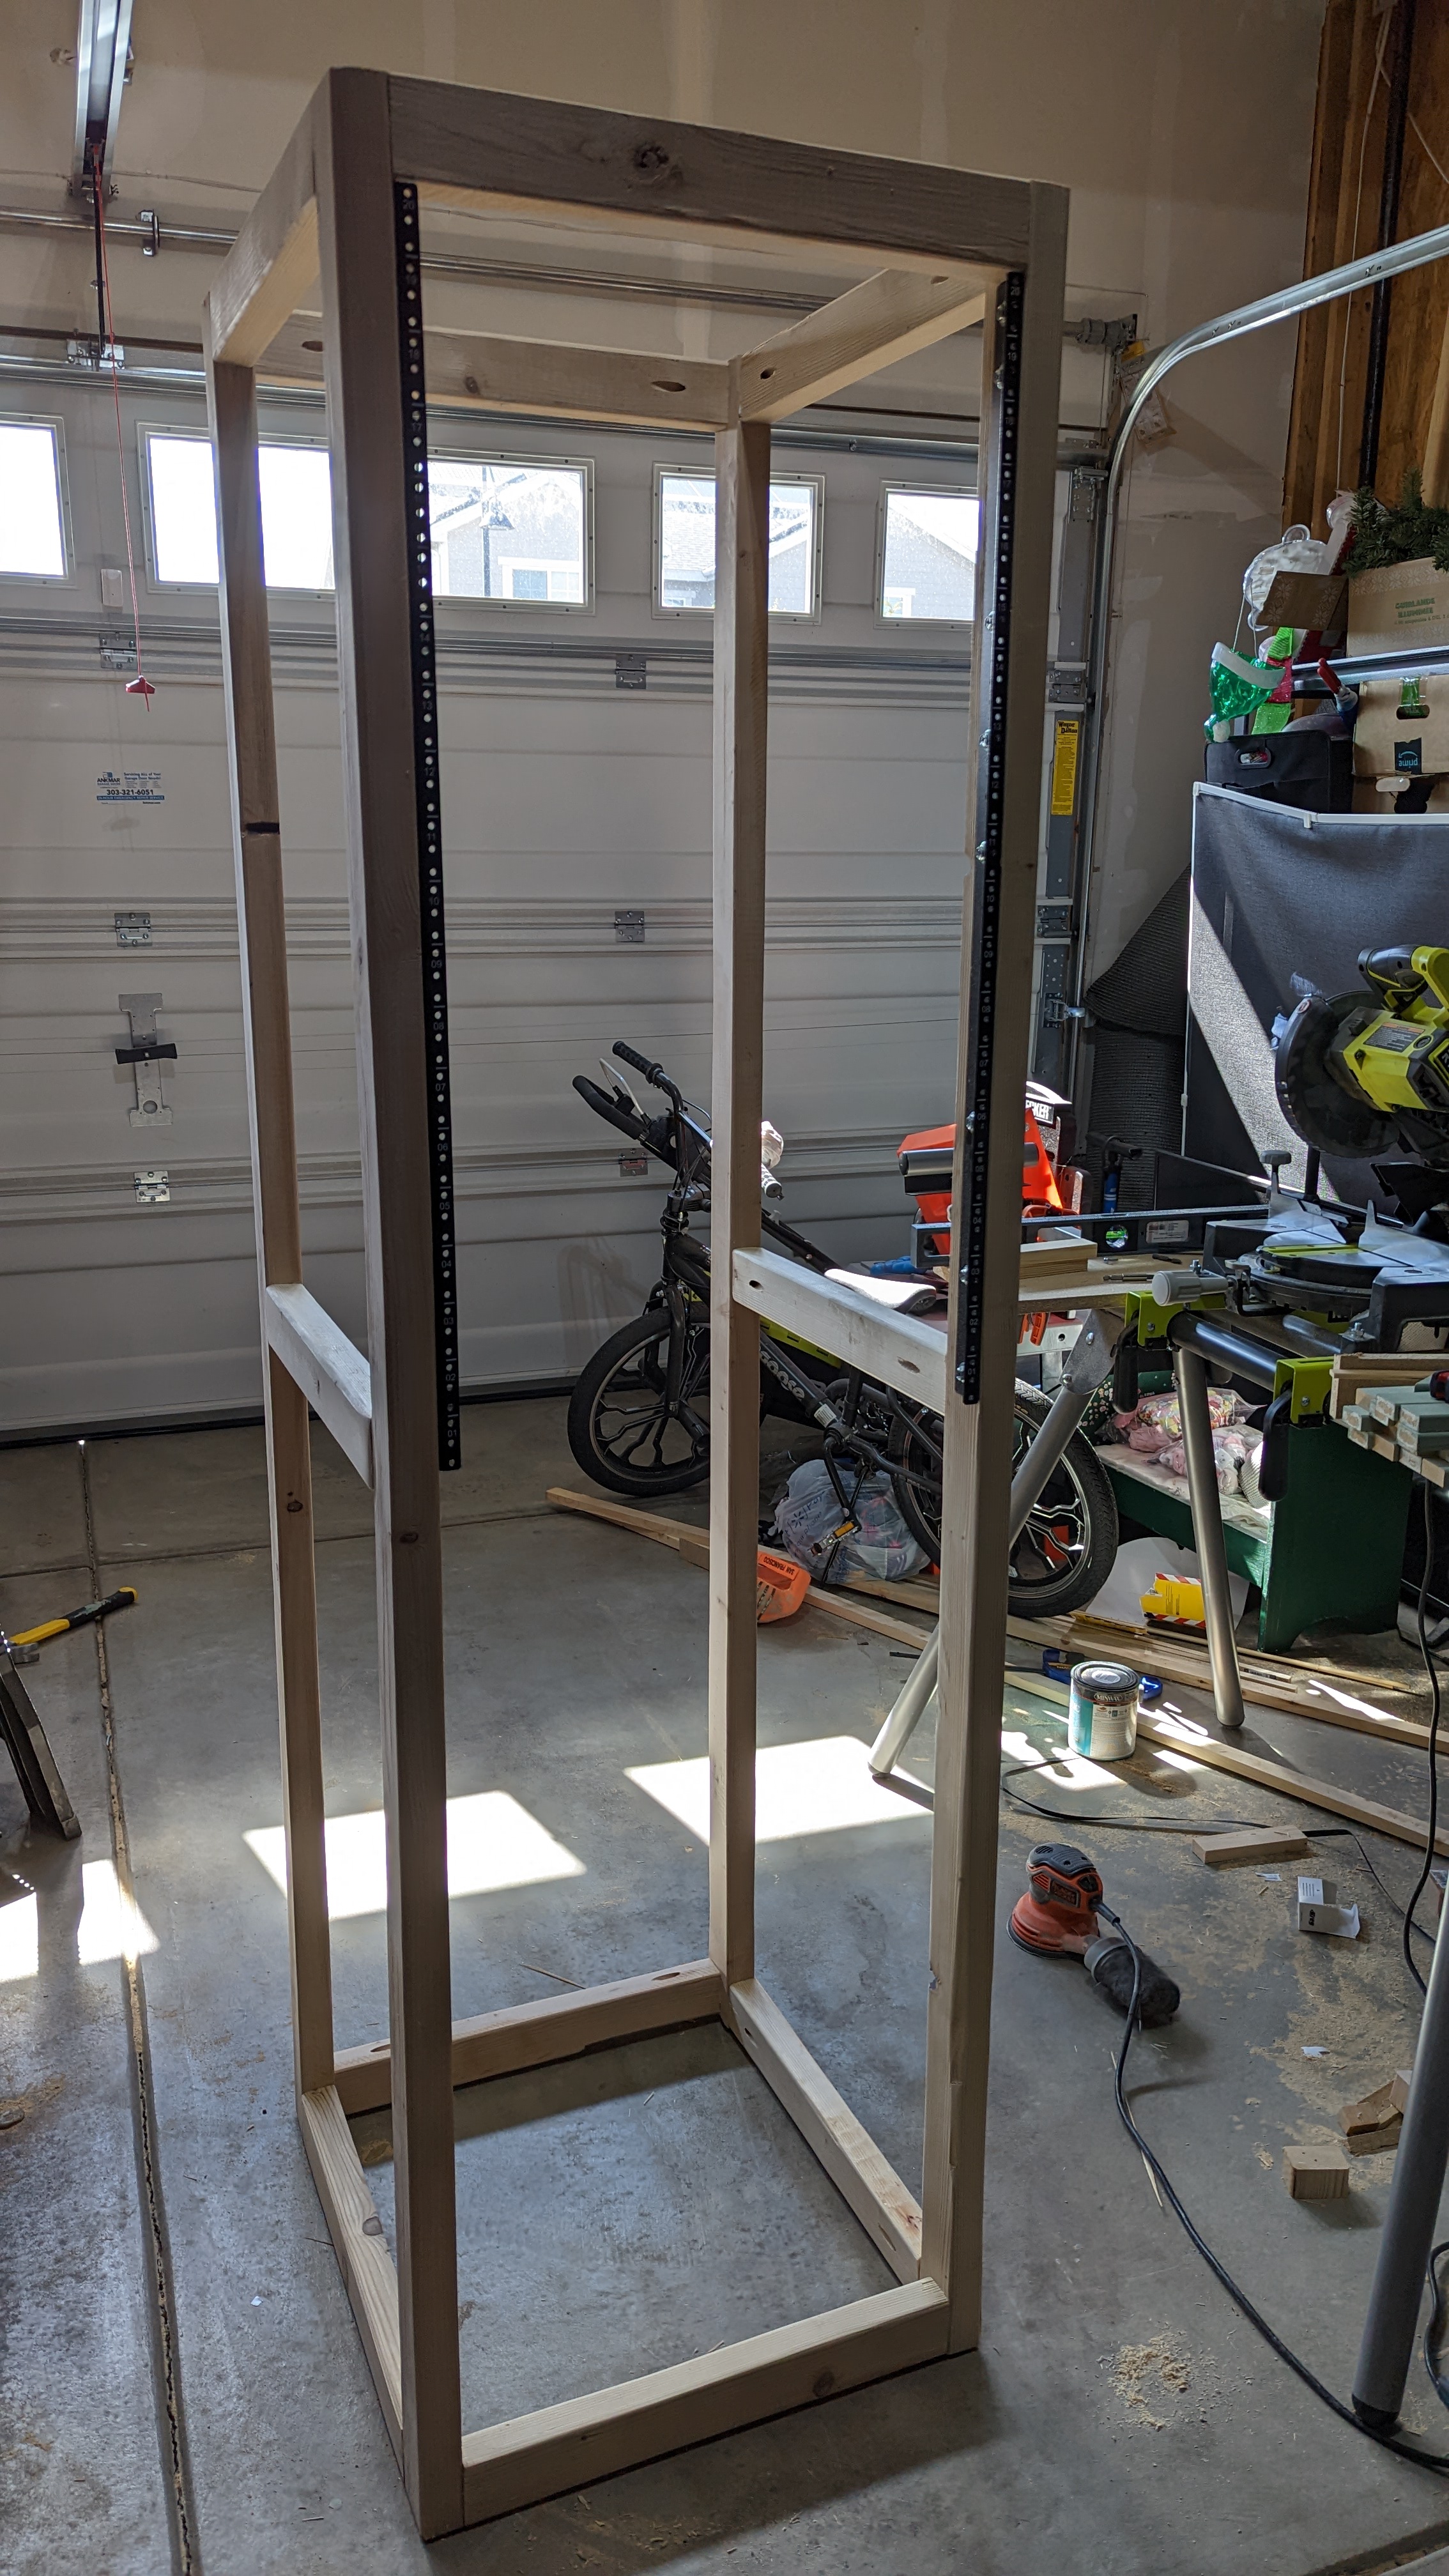
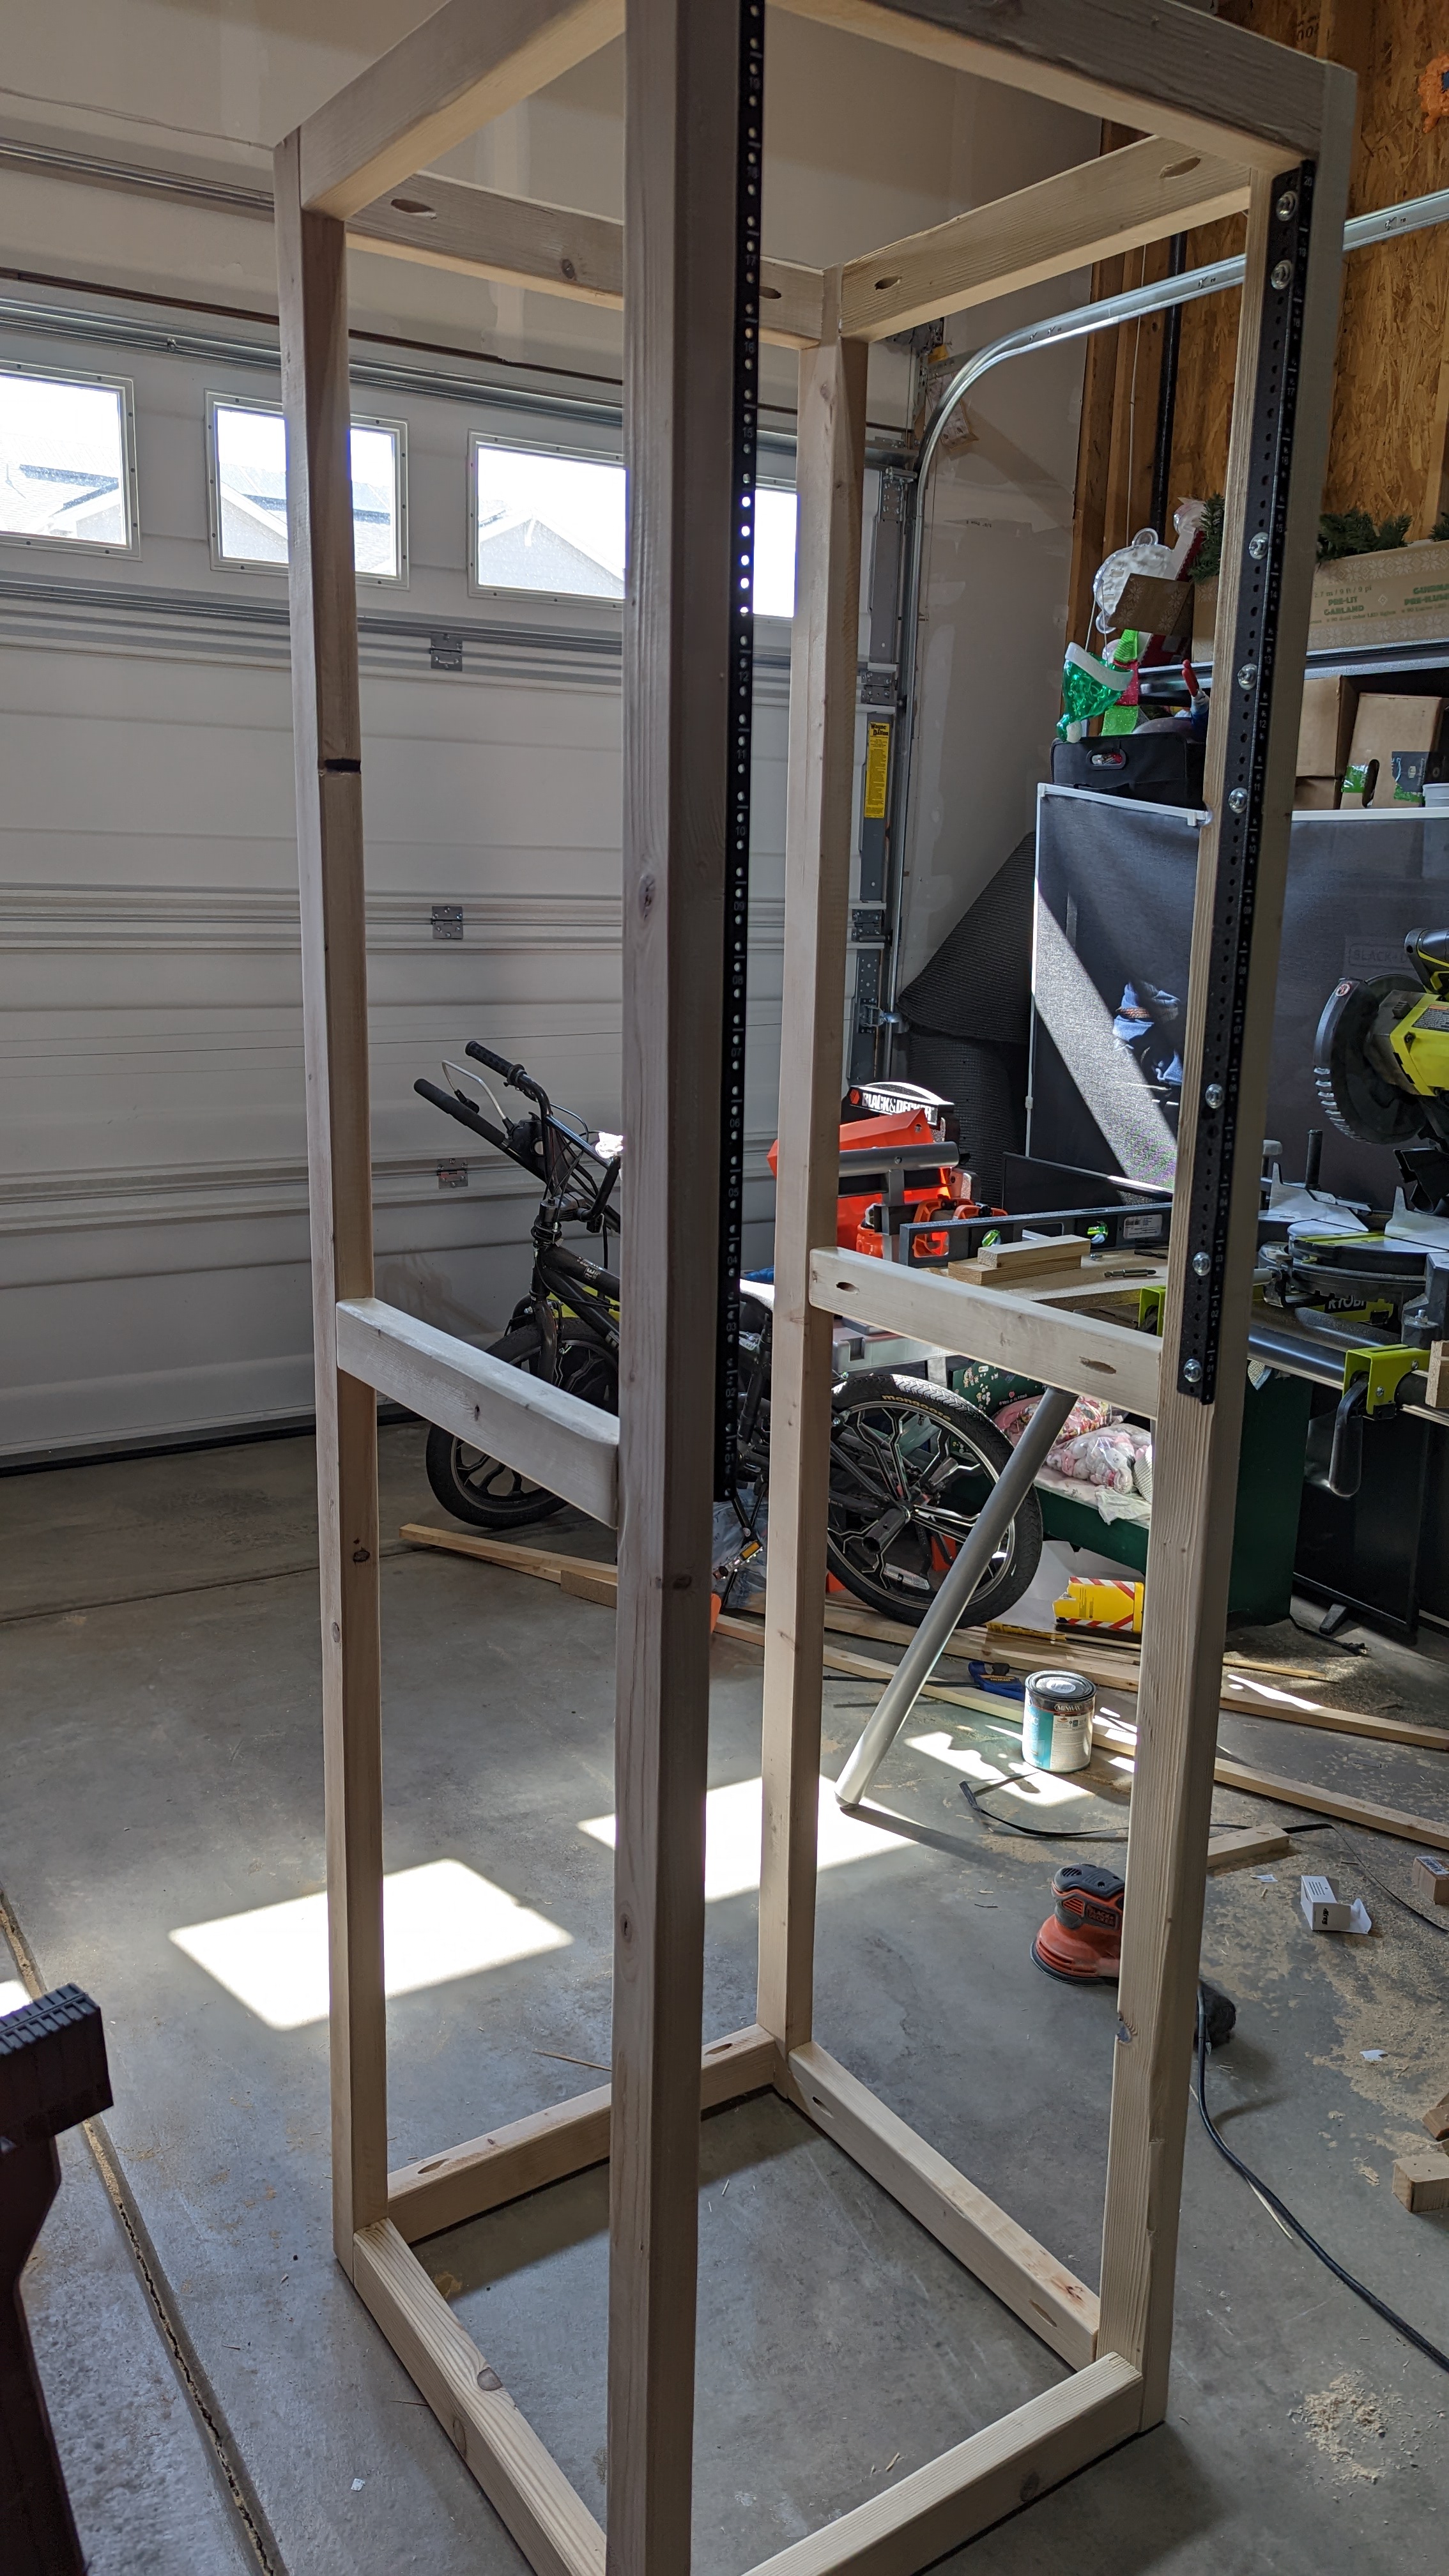
I then started the process of attaching the two frames together, separated around 22 inches.
I used an extra piece in the middle to reinforce the structure.
Continuing the process ...
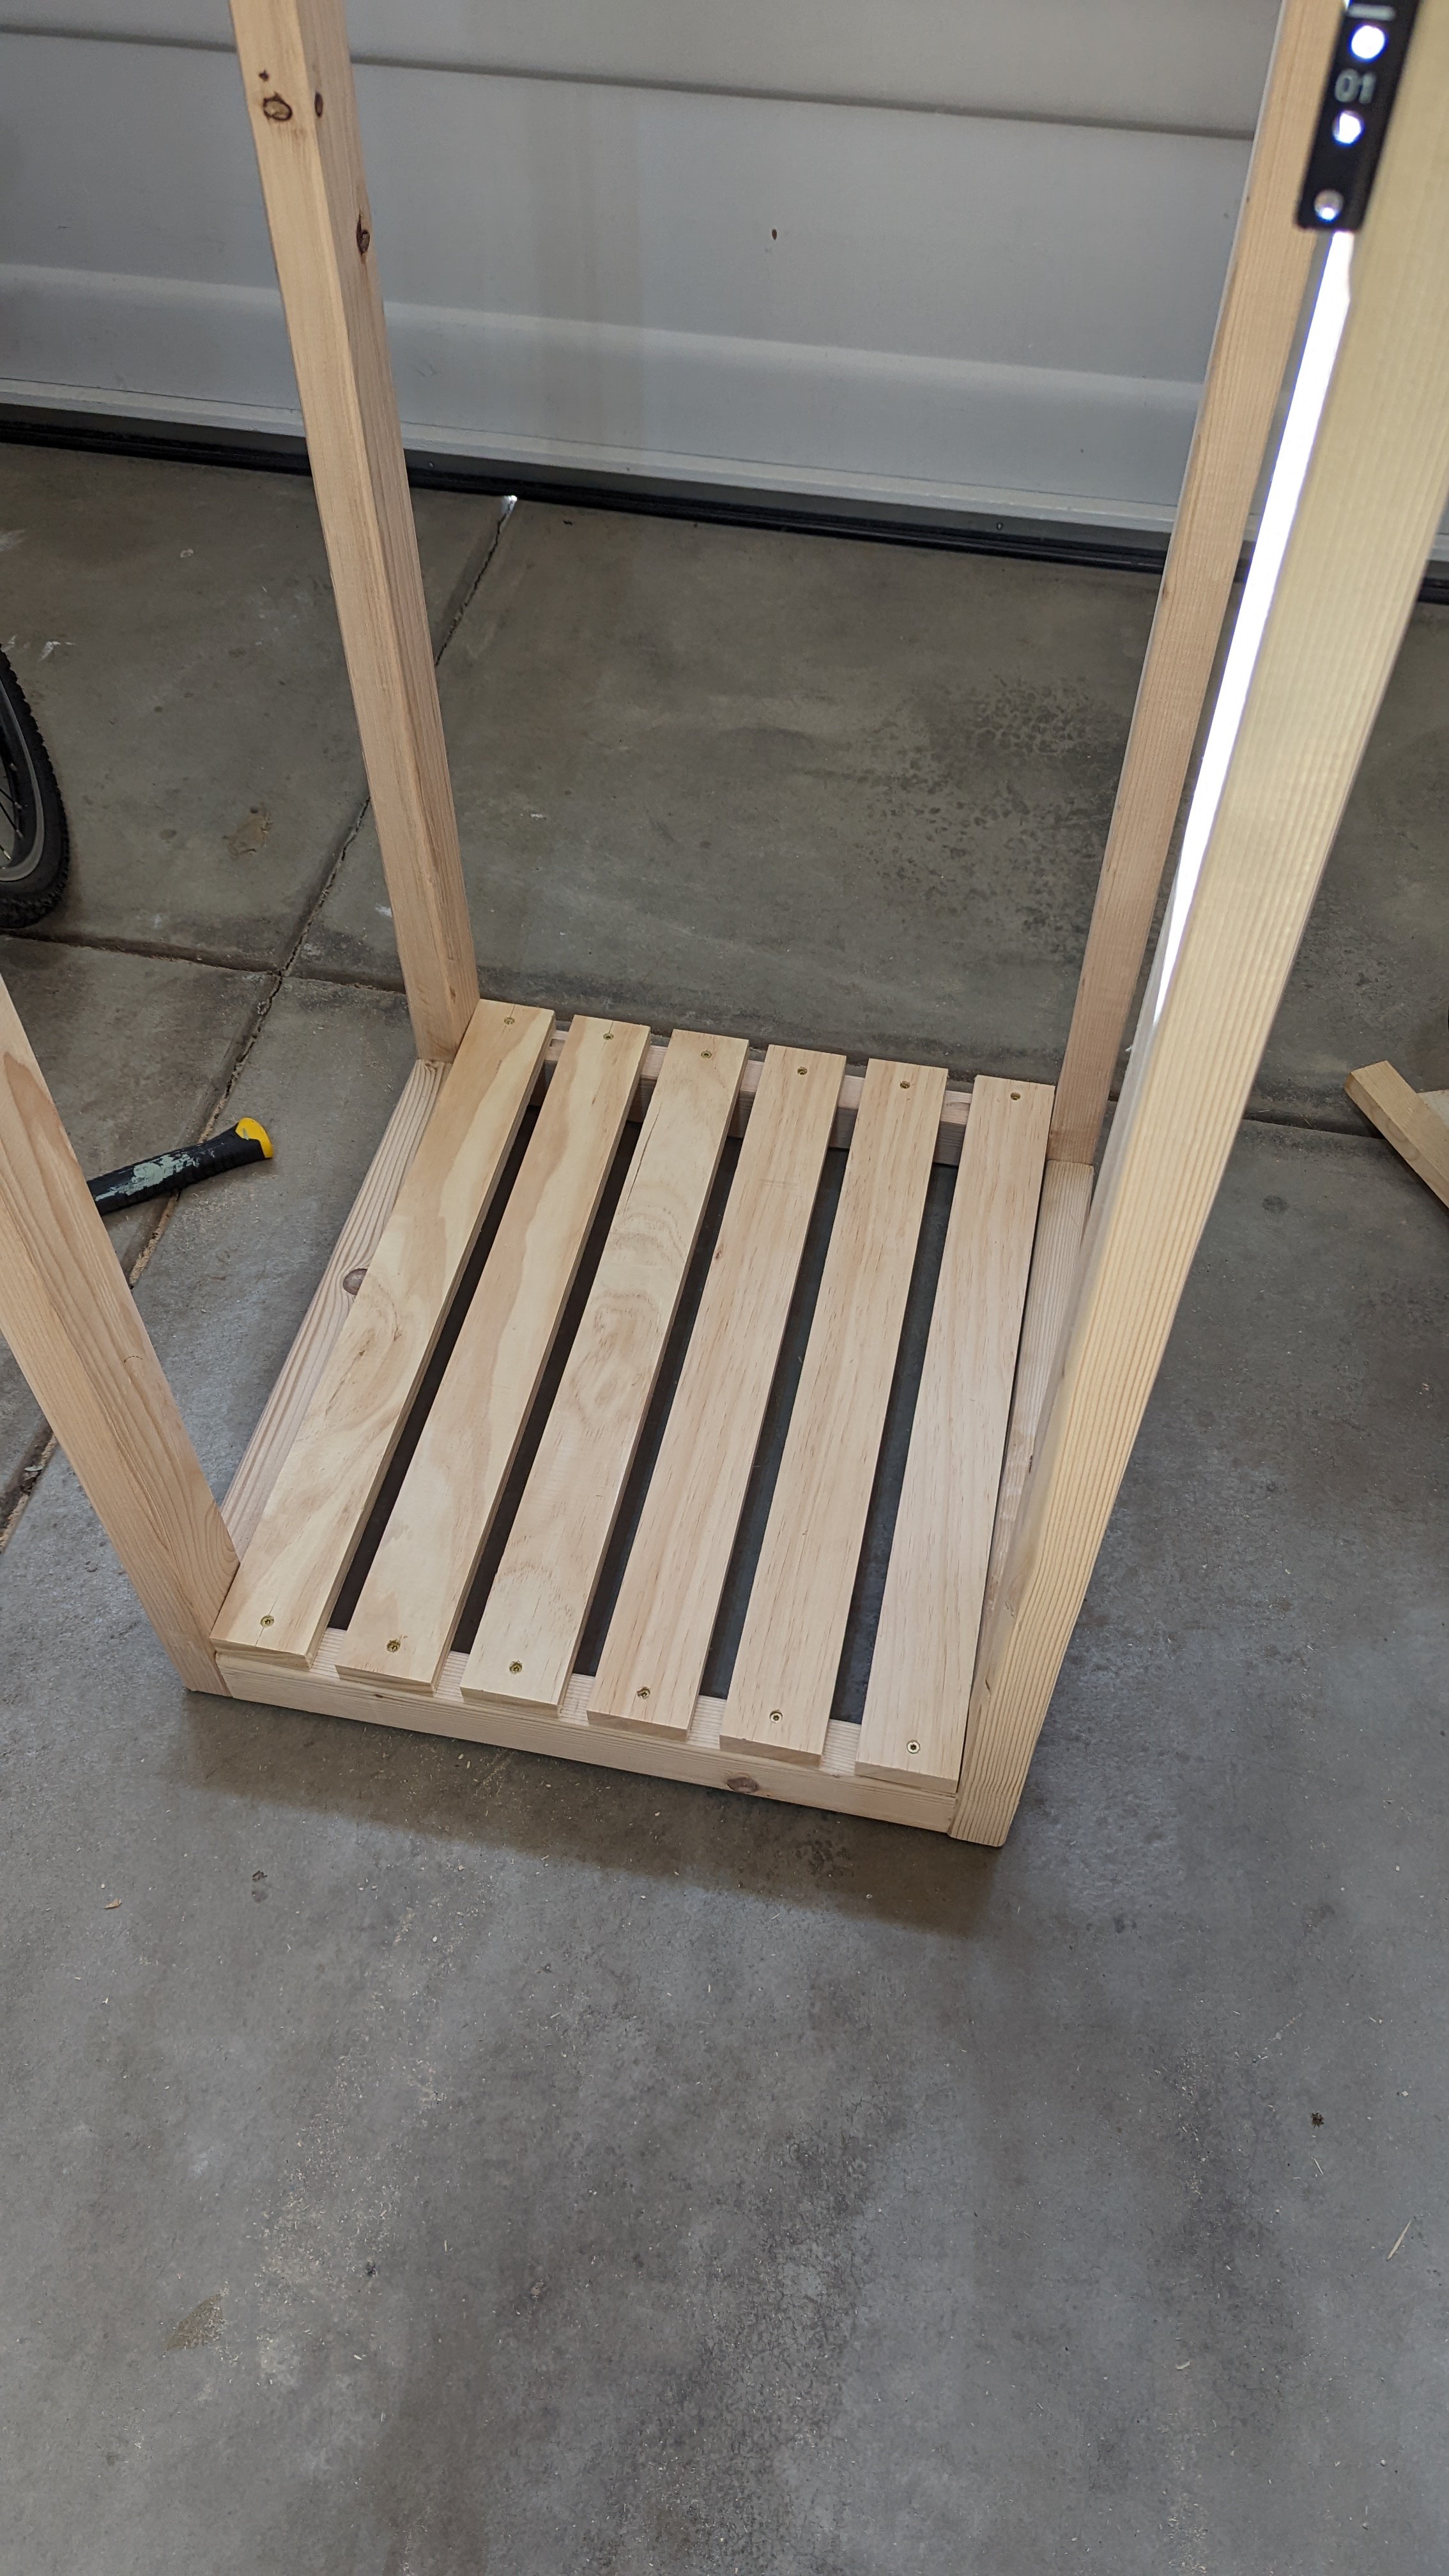
I then built a "base shelf" using the 1x4 planks and drilled into into ... well ... the base.
And that was pretty much it. I moved it into my "server room" - which is basically a corner of a storage space in the basement of the house, next to the sump pump. I know I know - hardly a safe spot for all those electronics and literally next to the first point of flooding. But that's where the contractors installed the terminals for all the ethernet cables - so that's where the server rack lives.
Here is what it looks like in "production" right now. I will talk about all of the actual equipment that comprises my home lab in another post.

